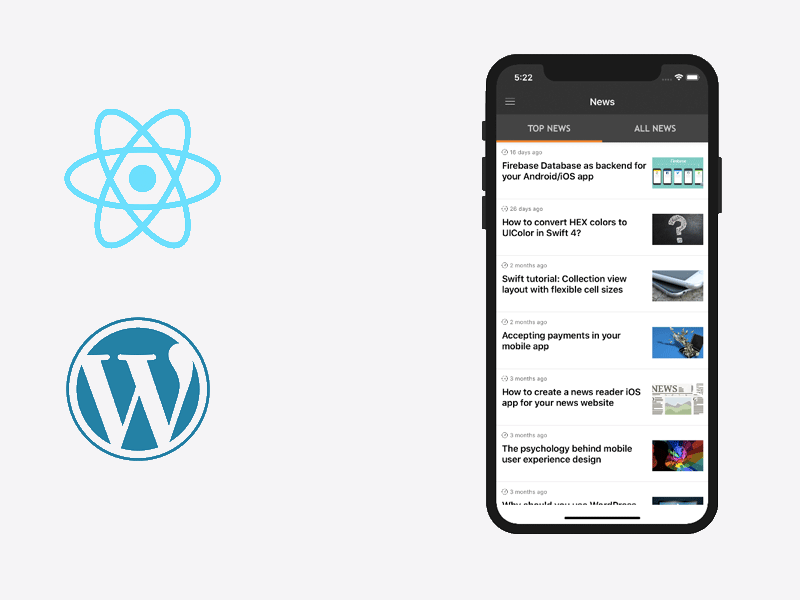
Integrating WordPress REST API with React Native
WordPress exposes a REST API that React Native apps can use for blog readers, news apps, documentation hubs, content-heavy ecommerce apps, and publisher experiences. The API is useful out of the box for public posts, pages, categories, tags, users, media, and custom content exposed by plugins such as Advanced Custom Fields.
The production challenge is not fetching one post. It is handling pagination, HTML content, media URLs, caching, empty states, authentication boundaries, and safe write operations without leaking WordPress credentials into the mobile app.
Quick Answer
Fetch public WordPress content from /wp-json/wp/v2/..., use pagination headers
and query params, request embedded media when useful, render loading/error/empty
states, sanitize or safely render HTML, and send authenticated writes through a
backend you control.
const response = await fetch(
  'https://example.com/wp-json/wp/v2/posts?_embed=1&page=1&per_page=10'
);

const posts = await response.json();
const totalPages = Number(response.headers.get('x-wp-totalpages') ?? 1);
For React Native UI state patterns, see React Native App Code Snippets. For release checks, use the React Native Release Checklist.
Public Reads vs Authenticated Writes
Public content can usually be fetched directly from the WordPress REST API. Authenticated writes need more care.
| Operation | Recommended path |
|---|---|
| Read published posts | Direct REST API fetch from the app. |
| Read pages/categories/tags | Direct REST API fetch from the app. |
| Read private content | App calls your backend; backend authenticates WordPress. |
| Create/update posts | App calls your backend; backend uses WordPress credentials. |
| Upload media | App calls your backend; backend validates and uploads. |
| User login | Use a deliberate auth strategy; do not ship admin credentials. |
WordPress Application Passwords are useful for server-to-server or trusted tools, but you should not embed those credentials in React Native source code.
Fetch Posts With Pagination
Create a small API function:
type WordPressPost = {
  id: number;
  date: string;
  link: string;
  title: { rendered: string };
  excerpt: { rendered: string };
  content: { rendered: string };
  _embedded?: {
    'wp:featuredmedia'?: Array<{
      source_url?: string;
      alt_text?: string;
    }>;
  };
};

type PostPage = {
  posts: WordPressPost[];
  totalPages: number;
};

export async function fetchWordPressPosts(page = 1): Promise<PostPage> {
  const url = new URL('https://example.com/wp-json/wp/v2/posts');
  url.searchParams.set('_embed', '1');
  url.searchParams.set('page', String(page));
  url.searchParams.set('per_page', '10');

  const response = await fetch(url.toString());

  if (!response.ok) {
    throw new Error(`WordPress request failed: ${response.status}`);
  }

  return {
    posts: await response.json(),
    totalPages: Number(response.headers.get('x-wp-totalpages') ?? 1),
  };
}
Use the X-WP-TotalPages header to stop infinite pagination instead of guessing
when the feed ends.
Ship faster with All Access. Get the React Native templates, admin panels, updates, and launch bonuses that help you build faster.
Explore All AccessRender a React Native List
Use FlatList with explicit loading and empty states:
import { FlatList, Text, View } from 'react-native';

export function WordPressFeed({ posts, loading }: { posts: WordPressPost[]; loading: boolean }) {
  if (loading && posts.length === 0) {
    return <Text>Loading posts...</Text>;
  }

  if (!loading && posts.length === 0) {
    return <Text>No posts found.</Text>;
  }

  return (
    <FlatList
      data={posts}
      keyExtractor={(item) => String(item.id)}
      renderItem={({ item }) => <PostCard post={item} />}
    />
  );
}
For long feeds, also apply the FlatList performance guidance from React Native FlatList Optimization.
Handle HTML Content Carefully
WordPress returns rendered HTML. You can:
- render excerpts as plain text after stripping tags;
- render full content with a React Native HTML renderer;
- create a custom WordPress endpoint that returns mobile-friendly fields;
- keep rich content inside a WebView only when that is intentional.
Do not inject untrusted HTML into a WebView with privileged app bridges. If you support third-party authors, sanitize content on the WordPress side and restrict what HTML blocks are allowed.
Advanced Custom Fields
Advanced Custom Fields can expose extra post metadata such as mobile titles, featured images, author cards, theme colors, or related products. Keep the mobile schema stable:
type MobilePostFields = {
  mobile_title?: string;
  author_photo?: string;
  hero_image?: string;
  estimated_reading_time?: string;
};
If the app depends on ACF fields, validate missing values. WordPress editors may forget to fill custom fields, and a mobile app should show a fallback instead of crashing.
Production Checklist
- API URLs use HTTPS.
- Pagination uses WordPress headers.
- Loading, empty, and error states are separate.
- Featured media has a fallback image.
- HTML rendering is sanitized or constrained.
- Authenticated writes go through a backend.
- WordPress credentials are never shipped in the app.
- Images are cached or optimized for mobile bandwidth.
- Offline behavior is defined for users with poor connectivity.
Looking for a custom mobile application?
Our team of expert mobile developers can help you build a custom mobile app that meets your specific needs.
Get in TouchFAQ
Can React Native call the WordPress REST API directly?
Yes for public content. For private content or writes, use a backend so credentials and permissions stay server-side.
How do I get featured images from WordPress?
Use _embed=1 for simple readers or create a custom endpoint that returns the
exact image fields your mobile app needs.
Should I render full WordPress HTML in React Native?
Only when you need rich article content. For cards and lists, prefer plain text, mobile-specific fields, and optimized images.