React Native WebView Implementation

In React Native WebViews enable access to any web portal in the mobile app itself. In other words, a web view allows us to open the web URLs inside the app interface. While React Native provides us with a built-it web view component, but we are going to use react-native-webview plugin in this tutorial, since it is more powerful. React Native WebView is a modern, well-supported, and cross-platform WebView for React Native.
The built-in Webview from React Native is to be deprecated pretty soon based on this document. Hence, this plugin serves as the replacement for the built-in web view. This plugin is a third-party plugin supported by the react-native community.
Requirements
The requirements to follow this tutorial are:
-
Nodejs
>=8.x.xwith npm or yarn installed as a package manager. -
watchman a file watching service.
Getting Started with React Native WebView
In order to get started with web view configuration, we need to install the actual plugin first. Here, we are using yarn to install the plugin but we can use NPM (Node Package Manager) as well. Hence, in order to install the plugin, we need to run the following command in the command prompt of our project folder:
yarn add react-native-webview
If the react-native version is equal or greater than 0.60 then, the installation also takes care of auto-linking the plugin to native configurations. But, in the case of earlier versions, we may need to run:
react-native link react-native-webview
iOS
In the case of iOS, we also need to run the following command:
pod install
Android
In the case of Android, this module does not require any extra step after running the link command. But for the react-native-webview version >=6.X.X, we need to make sure AndroidX is enabled in our project. This can be done by editing android/gradle.properties and adding the following lines:
android.useAndroidX = true;
android.enableJetifier = true;
This completes our installation steps. We can now use the plugin in our react native project.
Loading Inline HTML using React Native WebView
First, we are going to load a simple HTML content into our app interface. For that, we need to add the following imports in our App.js file:
import React, { Component } from "react";
import { WebView } from "react-native-webview";
Here, we have imported the WebView component from the react-native-webview plugin. Now, we can make use of this component in order to load the HTML content as shown in the code snippet below:
import React, { Component } from "react";
import { WebView } from "react-native-webview";
class MyInlineWeb extends Component {
  render() {
    return (
      <WebView
        originWhitelist={["*"]}
        source={{ html: "<h1>This is a static HTML source!</h1>" }}
      />
    );
  }
}
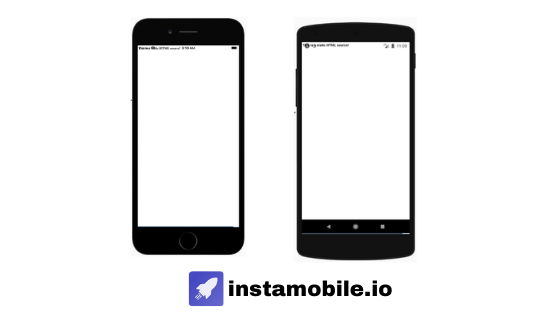
Here, we have defined the MyInlineWeb class component. This class component has a render() function that renders the WebView component. The WebView component has the HTML content configured to its source prop. As a result, we can see the HTML content is rendered in the app interface as shown in the emulator screenshot below:
Ship faster with All Access. Get the React Native templates, admin panels, updates, and launch bonuses that help you build faster.
Explore All AccessLoading Remote URL
Now, instead of simple HTML content, we are going to load the entire website content from the remote URL. For that, we need to provide the uri option to the source prop of WebView component as shown in the code snippet below:
import React, { Component } from "react";
import { WebView } from "react-native-webview";

class MyWeb extends Component {
  render() {
    return <WebView source={{ uri: "https://instamobile.io/blog" }} />;
  }
}
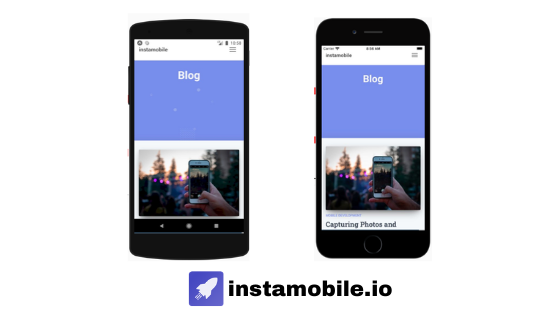
Hence, we will get the entire webpage of the website opened in the app’s web view itself as shown in the screenshot below:
Adding a loading spinner to React Native Webview
While accessing the URL from the WebView component, it may take some time for entire HTML content on the website to load. So, in order to represent the delay, we are going to display a loading indicator until the website loads. For this, we need to import the ActivityIndicator component from the react-native package as shown in the code snippet below:
import { Text, View, StyleSheet, ActivityIndicator } from "react-native";
Now, we need to make use of the ActiviIndicator component in our project. For that, we are going to create a function called LoadingIndicatorView() which will return the ActivityIndicator as shown in the code snippet below:
import * as React from "react";
import { Text, View, StyleSheet, ActivityIndicator } from "react-native";
import { WebView } from "react-native-webview";
import { Card } from "react-native-paper";
function LoadingIndicatorView() {
  return <ActivityIndicator color="#009b88" size="large" />;
}
export default function App() {
  return (
    <WebView
      originWhitelist={["*"]}
      source={{ uri: "https://instamobile.io/blog" }}
      renderLoading={this.LoadingIndicatorView}
      startInLoadingState={true}
    />
  );
}
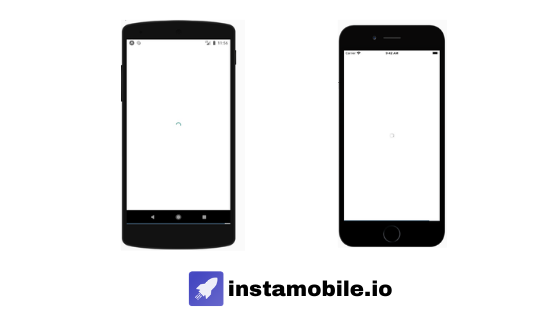
Here, we have used the AcitivityIndicator with color and size props. Then, we have invoked the LoadingIndicatorView function onto the renderLoading prop of the WebView component. This allows us to display the loading indicator until the website fully loads. We can see that startInLoadingState prop is also used here. This boolean value forces the WebView to show the loading view on the first load. This prop must be set to true in order for the renderLoading prop to work. As a result, we get the following result in our emulator simulation:
Looking for a custom mobile application?
Our team of expert mobile developers can help you build a custom mobile app that meets your specific needs.
Get in TouchConclusion
In this tutorial, we learned about the web view property of React Native. Since the in-built web-view feature of React Native is to be deprecated, we learned how to make use of the third-party web view plugin named react-native-webview. First, we learned how to render simple HTML content using the WebView component. Then, we got a detailed explanation of how to use the WebView component and its props to render the entire HTML content from the URL along with the loading indicator. In case you want to learn more, you can go-ahead to themain repository for discussion regarding this web view plugin. At Instamobile, we used a webview to automatically display all the web pages of a WordPress site, as part of our React Native WordPress app.
Next Steps
Now that you have learned about webview in React Native, here are some other topics you can look into
-
Firebase — Push notifications | Firebase storage
-
How To in React Native — WebView | Gradient| Camera| Adding GIF| Google Maps | Redux | Debugging | Hooks| Dark mode | Deep-link | GraphQL | AsyncStorage | Offline |Chart | Walkthrough | Geolocation | Tinder swipe | App icon | REST API
-
Authentication — Google Login| Facebook login | Phone Auth |
-
Best Resource – App idea | Podcast | Newsletter| App template
If you need a base to start your next React Native app, you can make your next awesome app using manyReact Native template.