IMPORTANT: This section only applies to you if the purchased archive contains a “Firebase” or “FirebaseFunctions” folder inside of it. Please SKIP THIS SECTION entirely if you do not have a Firebase (or FirebaseFunctions) folder in your downloaded .zip. Cloud Functions for Firebase is a serverless framework that lets you automatically run backend code in response to events triggered by Firebase features and HTTPS requests. At Instamobile, we use Firebase Functions to trigger specific actions upon user activity. A few examples:
- When an user updates their profile photo, we trigger a Firebase Function to update all the places in the database where that user’s info is stored, so the profile picture gets updated properly on all surfaces (chat messages, feed posts, stories, etc)
- When an user places a new order in the UberEats app, we trigger a Firebase Function (dispatch.js) that searches for an available driver to deliver that order
- When a user unfriends another user, we trigger a Firebase Function (triggers.js) that removes all the feed posts, stories, chat channels, etc from one user’s timeline that are authored by the other user.
We’ve already coded all the necessary Firebase Functions, but you need to deploy these functions to your own Firebase account. So basically, you need to upload the source code inside the FirebaseFunctions folder to your own Firebase account. By now, we are going to assume you’ve already followed the previous sections in this documentation, on integrating Firebase:
- You already created a Firebase account, a Firebase project, and 2 apps inside that project (one for iOS and one for Android)
- You were able to run the React Native project on your machine
1. Set up Node.js and the Firebase CLI
Firebase Functions source code is a Node.js project, so the code is basically JavaScript, similar to the React Native project. Nothing here is specific only to our templates, but everything applies to any Firebase project, so please use the official Firebase documentation if you encounter any issues.
1.1 Install Node
You’ll need a Node.js environment to write functions, and you’ll need the Firebase CLI to deploy functions to the Cloud Functions runtime. For installing Node.js and npm, Node Version Manager is recommended.
1.2 Install Firebase CLI
Once you have Node.js and npm installed, install the Firebase CLI via your preferred method. To install the CLI via npm, use:
npm install -g firebase-tools
2. Initialize your project
When you initialize Firebase SDK for Cloud Functions, you create an empty project containing dependencies and some minimal sample code, using JavaScript for composing functions. To initialize your project:
- Run
firebase loginto log in via the browser and authenticate the firebase tool. - Create a new “MyFirebaseFunctions” empty folder on your machine.
- In the Terminal, go to MyFirebaseFunctions project directory.
- Run
firebase init functions. The tool gives you an option to install dependencies with npm. It is safe to decline if you want to manage dependencies in another way, though if you do decline you’ll need to runnpm installbefore emulating or deploying your functions. - The tool gives you two options for language support:
- JavaScript
- TypeScript
Please select JavaScript.
After these commands complete successfully, your project structure looks like this:
MyFirebaseFunctions
 +- .firebaserc    # Hidden file that helps you quickly switch between
 |                 # projects with `firebase use`
 |
 +- firebase.json  # Describes properties for your project
 |
 +- functions/     # Directory containing all your functions code
      |
      +- .eslintrc.json  # Optional file containing rules for JavaScript linting.
      |
      +- package.json  # npm package file describing your Cloud Functions code
      |
      +- index.js      # main source file for your Cloud Functions code
      |
      +- node_modules/ # directory where your dependencies (declared in
                       # package.json) are installed
The package.json file created during initialization contains an important key: "engines": {"node": "12"}. This specifies your Node.js version for writing and deploying functions. Please make sure this is version 12 for node.
3. Add Instamobile Functions into Your Own Project
Since we already provided you with the full source code for your Firebase Functions, all you need to do is add that source code into your newly created MyFirebaseFunctions project. To do this, you need to follow these steps:
- In Instamobile’s FirebaseFunctions folder, copy the “functions” subfolder to clipboard.
- Paste it in YOUR MyFirebaseFunctions folder, to OVERRIDE the functions folder that is already there.
That’s it. You now have a Firebase Functions project, that is linked to your Firebase account, and that uses our source code (so our Firebase Functions that work with the mobile app).
4. Deploy Your Firebase Functions to Firebase
To deploy Firebase Functions, you need to make sure you upgrade your Firebase Pricing Plan to Blaze.
In your project directory, simply run this command:
firebase deploy --only functions
Do not worry if you see any warnings, they do not affect the behavior of the app. Once the deploy is complete, the output in the Terminal should look like this: 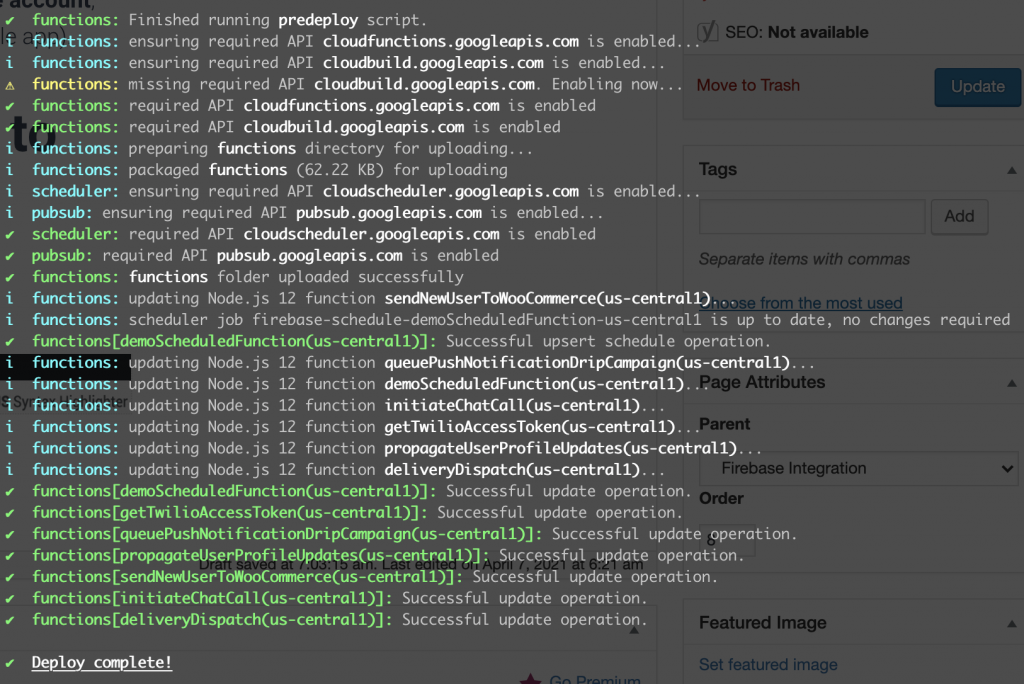
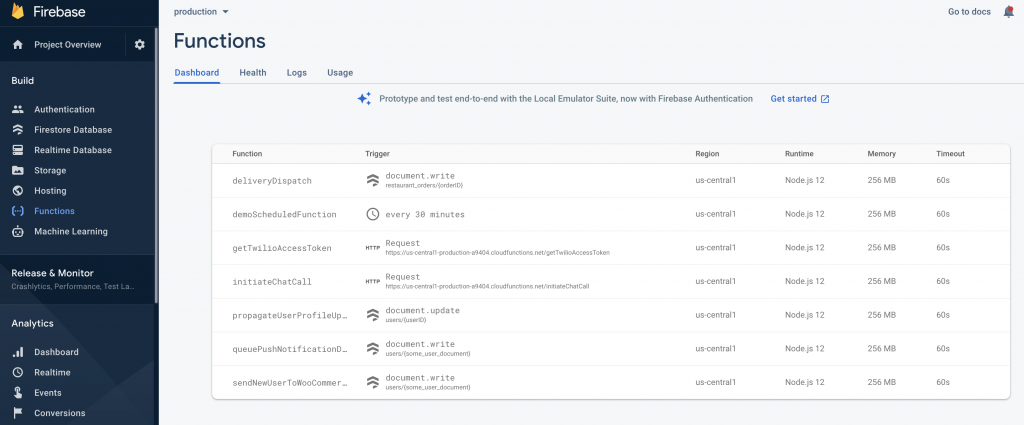
5. Watch Your Firebase Functions for Errors
For some Firebase functions, you need to create indexes on certain Firestore collections, in order for them to run properly. For this, start using the app (e.g. change a profile picture for a user), and watch the logs for the Firebase Functions in the console. If you get an error related to a missing index, simply click on the URL of that error, and the index will get created automatically. You do not need to deploy your functions again, after an index gets created, but make sure you wait until the index is indeed created, before testing the app again.