We have managed In-App purchases for iOS and Android with “react-native-iap” library. This library enables us to manage In-App purchases smoothly for both Android and iOS.
Configuring IAPs For iOS on App Store Connect.
To accept auto-renew subscriptions in ur app first, you have to log in to App Store Connect -> Agreements, Tax and Banking
Then accept all the Paid Apps Agreements and you will see something like this:

If the agreements have not been accepted you can’t see the option to create the AutoRenew subscription.
Create the subscriptions
- Within App Store Connect, click Apps, followed by the App you wish to add in-app purchases to.
- You should find In-App Purchases at the left side of your page, amongst the tabs.
- Under In-App Purchases, click Manage.
Here, we can add subscriptions as well as a “billing grace period” feature that postpones ending a subscription until a certain period of time passes after a subscription expires.
Click the + icon next to your In-App Purchases subheading to add an IAP, and follow the two-step process of choosing its type, followed by its name and reference number:

Your Reference Name should be a readable and easily recognizable label for the subscription item, whereas the Product ID needs to be a unique identifier for the item.
If you host many apps, using the com.org.app.iapId may be a more manageable Product ID convention, ensuring that there are no overlapping values between apps.
From here you can jump into each of your purchase items and configure a range of metadata — here are some of the more interesting features you can configure:
- Subscription pricing, with a toggle to automatically generate prices for every supported currency. This is extremely useful for displaying prices in-app.
- Promotional offers and introductory offers to spur new customers. Specific start and end dates can be set (or even no end date for an ongoing promotion), as well as a specific payment type.
Be sure to check out all the options available for your In-App Purchase item to further tailor your offer.
Later on, we will fetch the configured IAPs further down and use in our project.
Create a sandbox test user
- Still in App Store Connect -> My Apps -> Users and Access.
- On the Users and Access page, you should find Sanbox on the left tab.
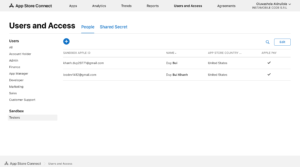
- create a Tester account that will later be used to test IAPs on your app.
Configuring IAPs for Android on Google Play Console
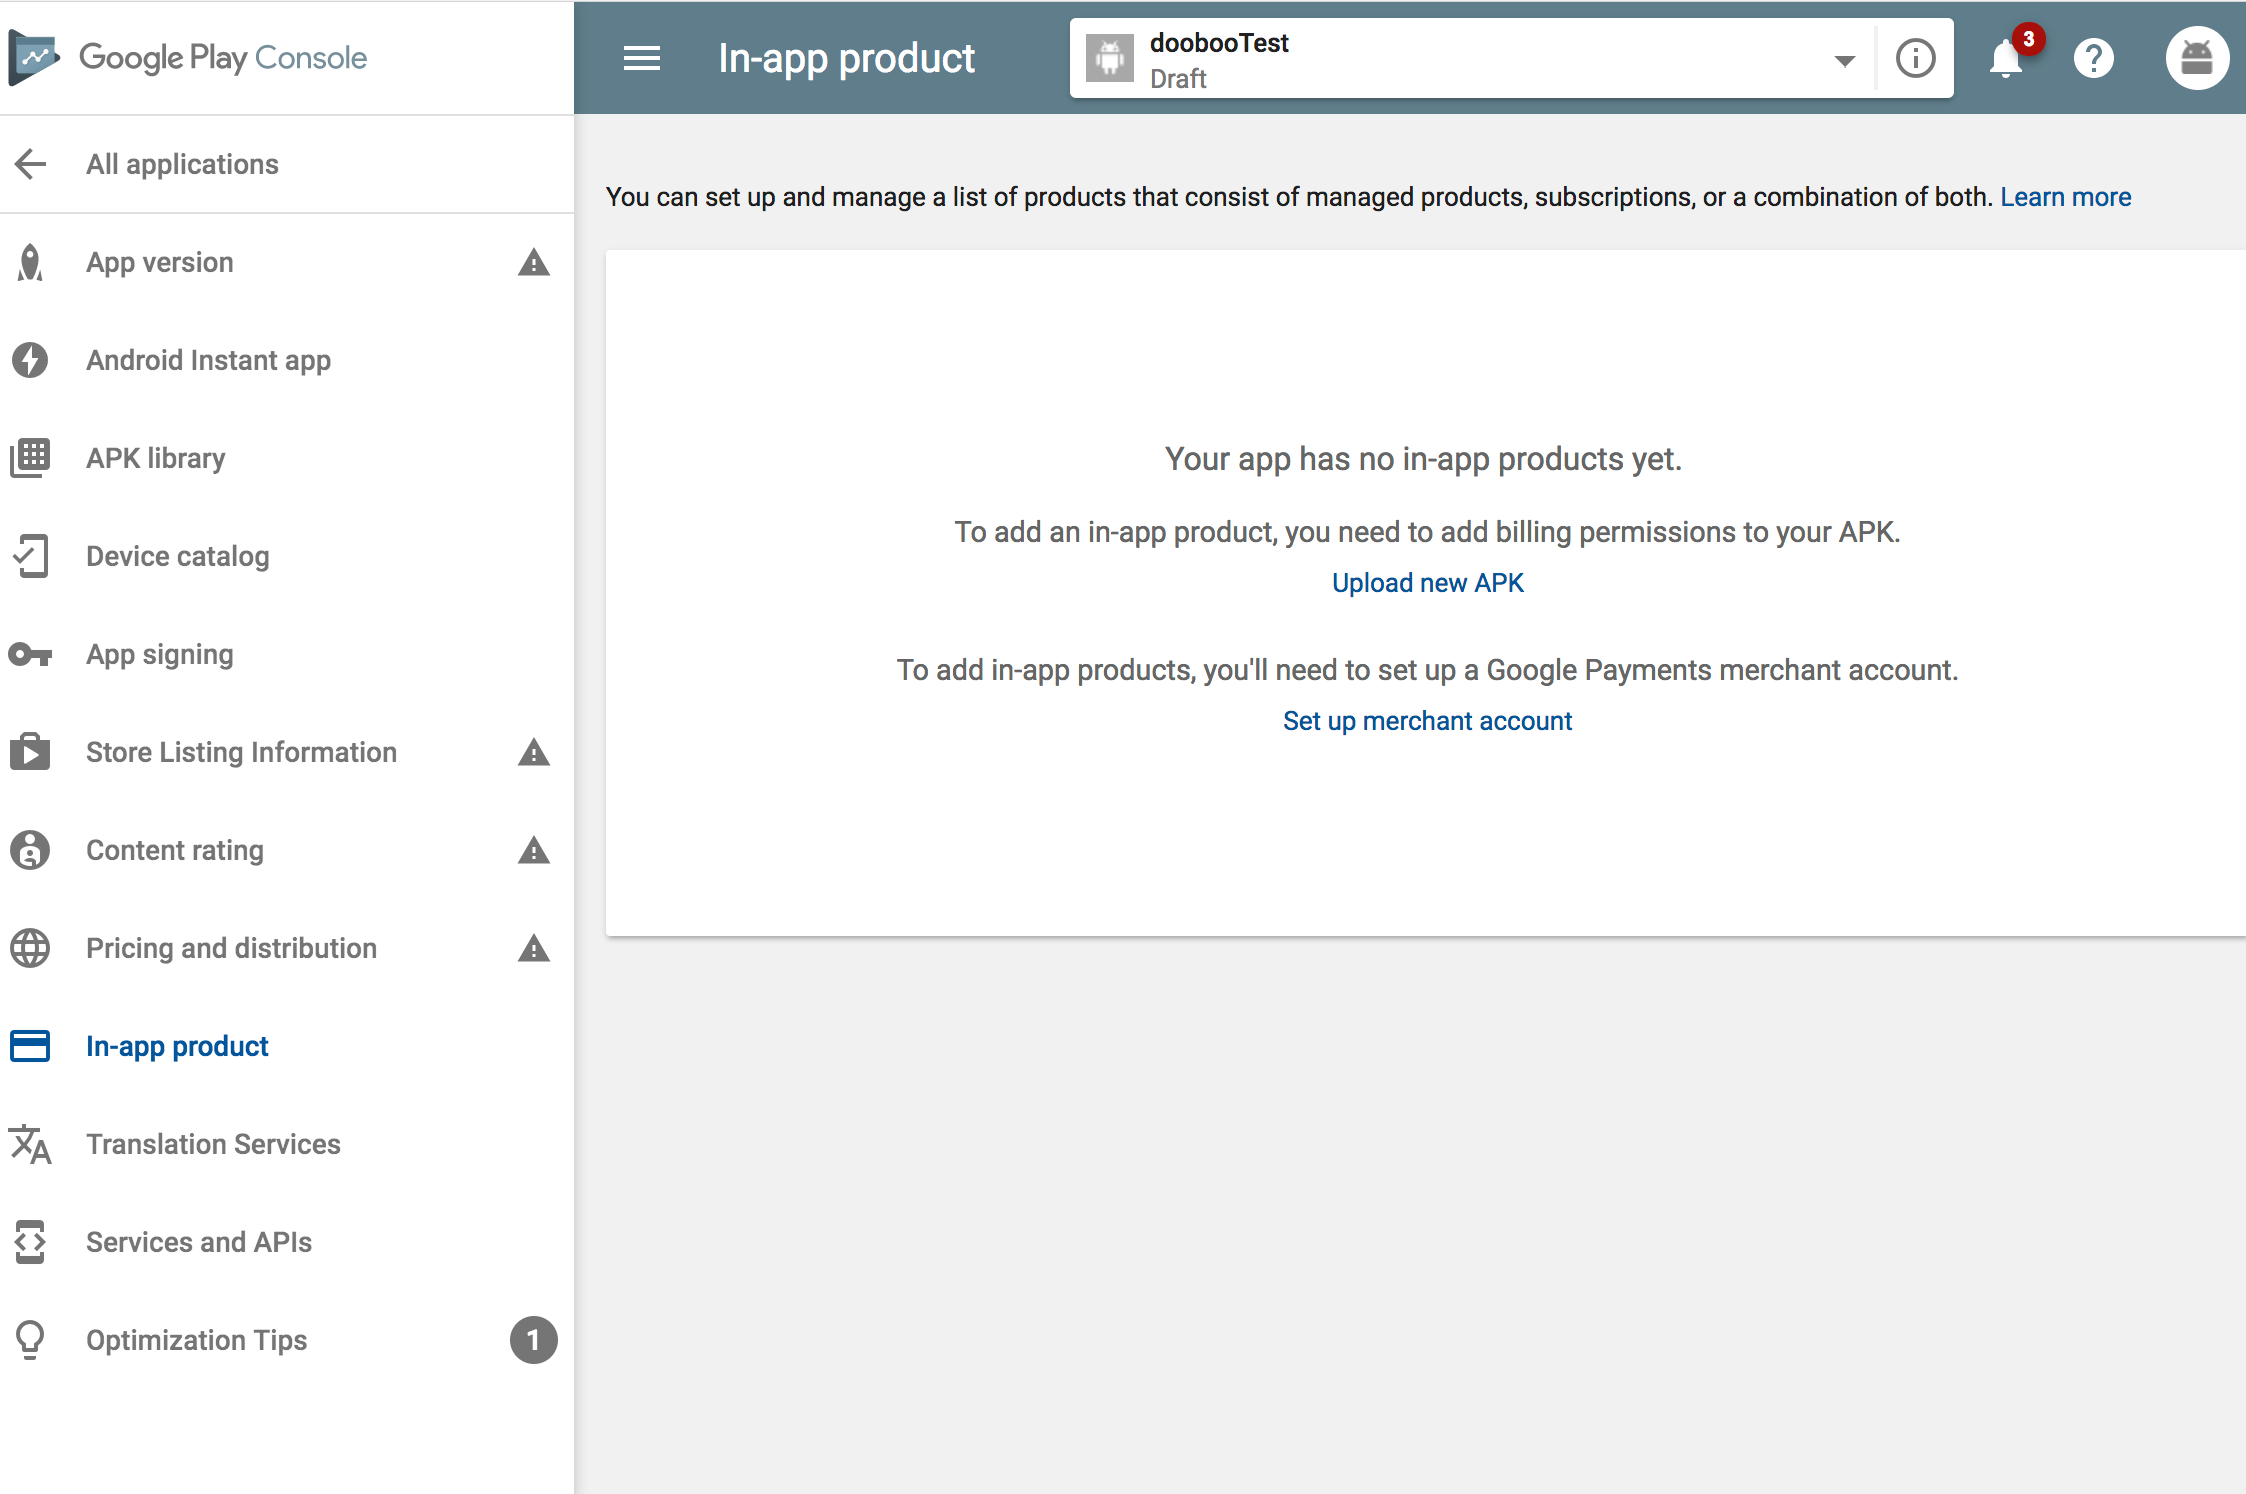
- As described in the above screenshot, you need to upload an APK and set up a merchant account before creating an In-app product.
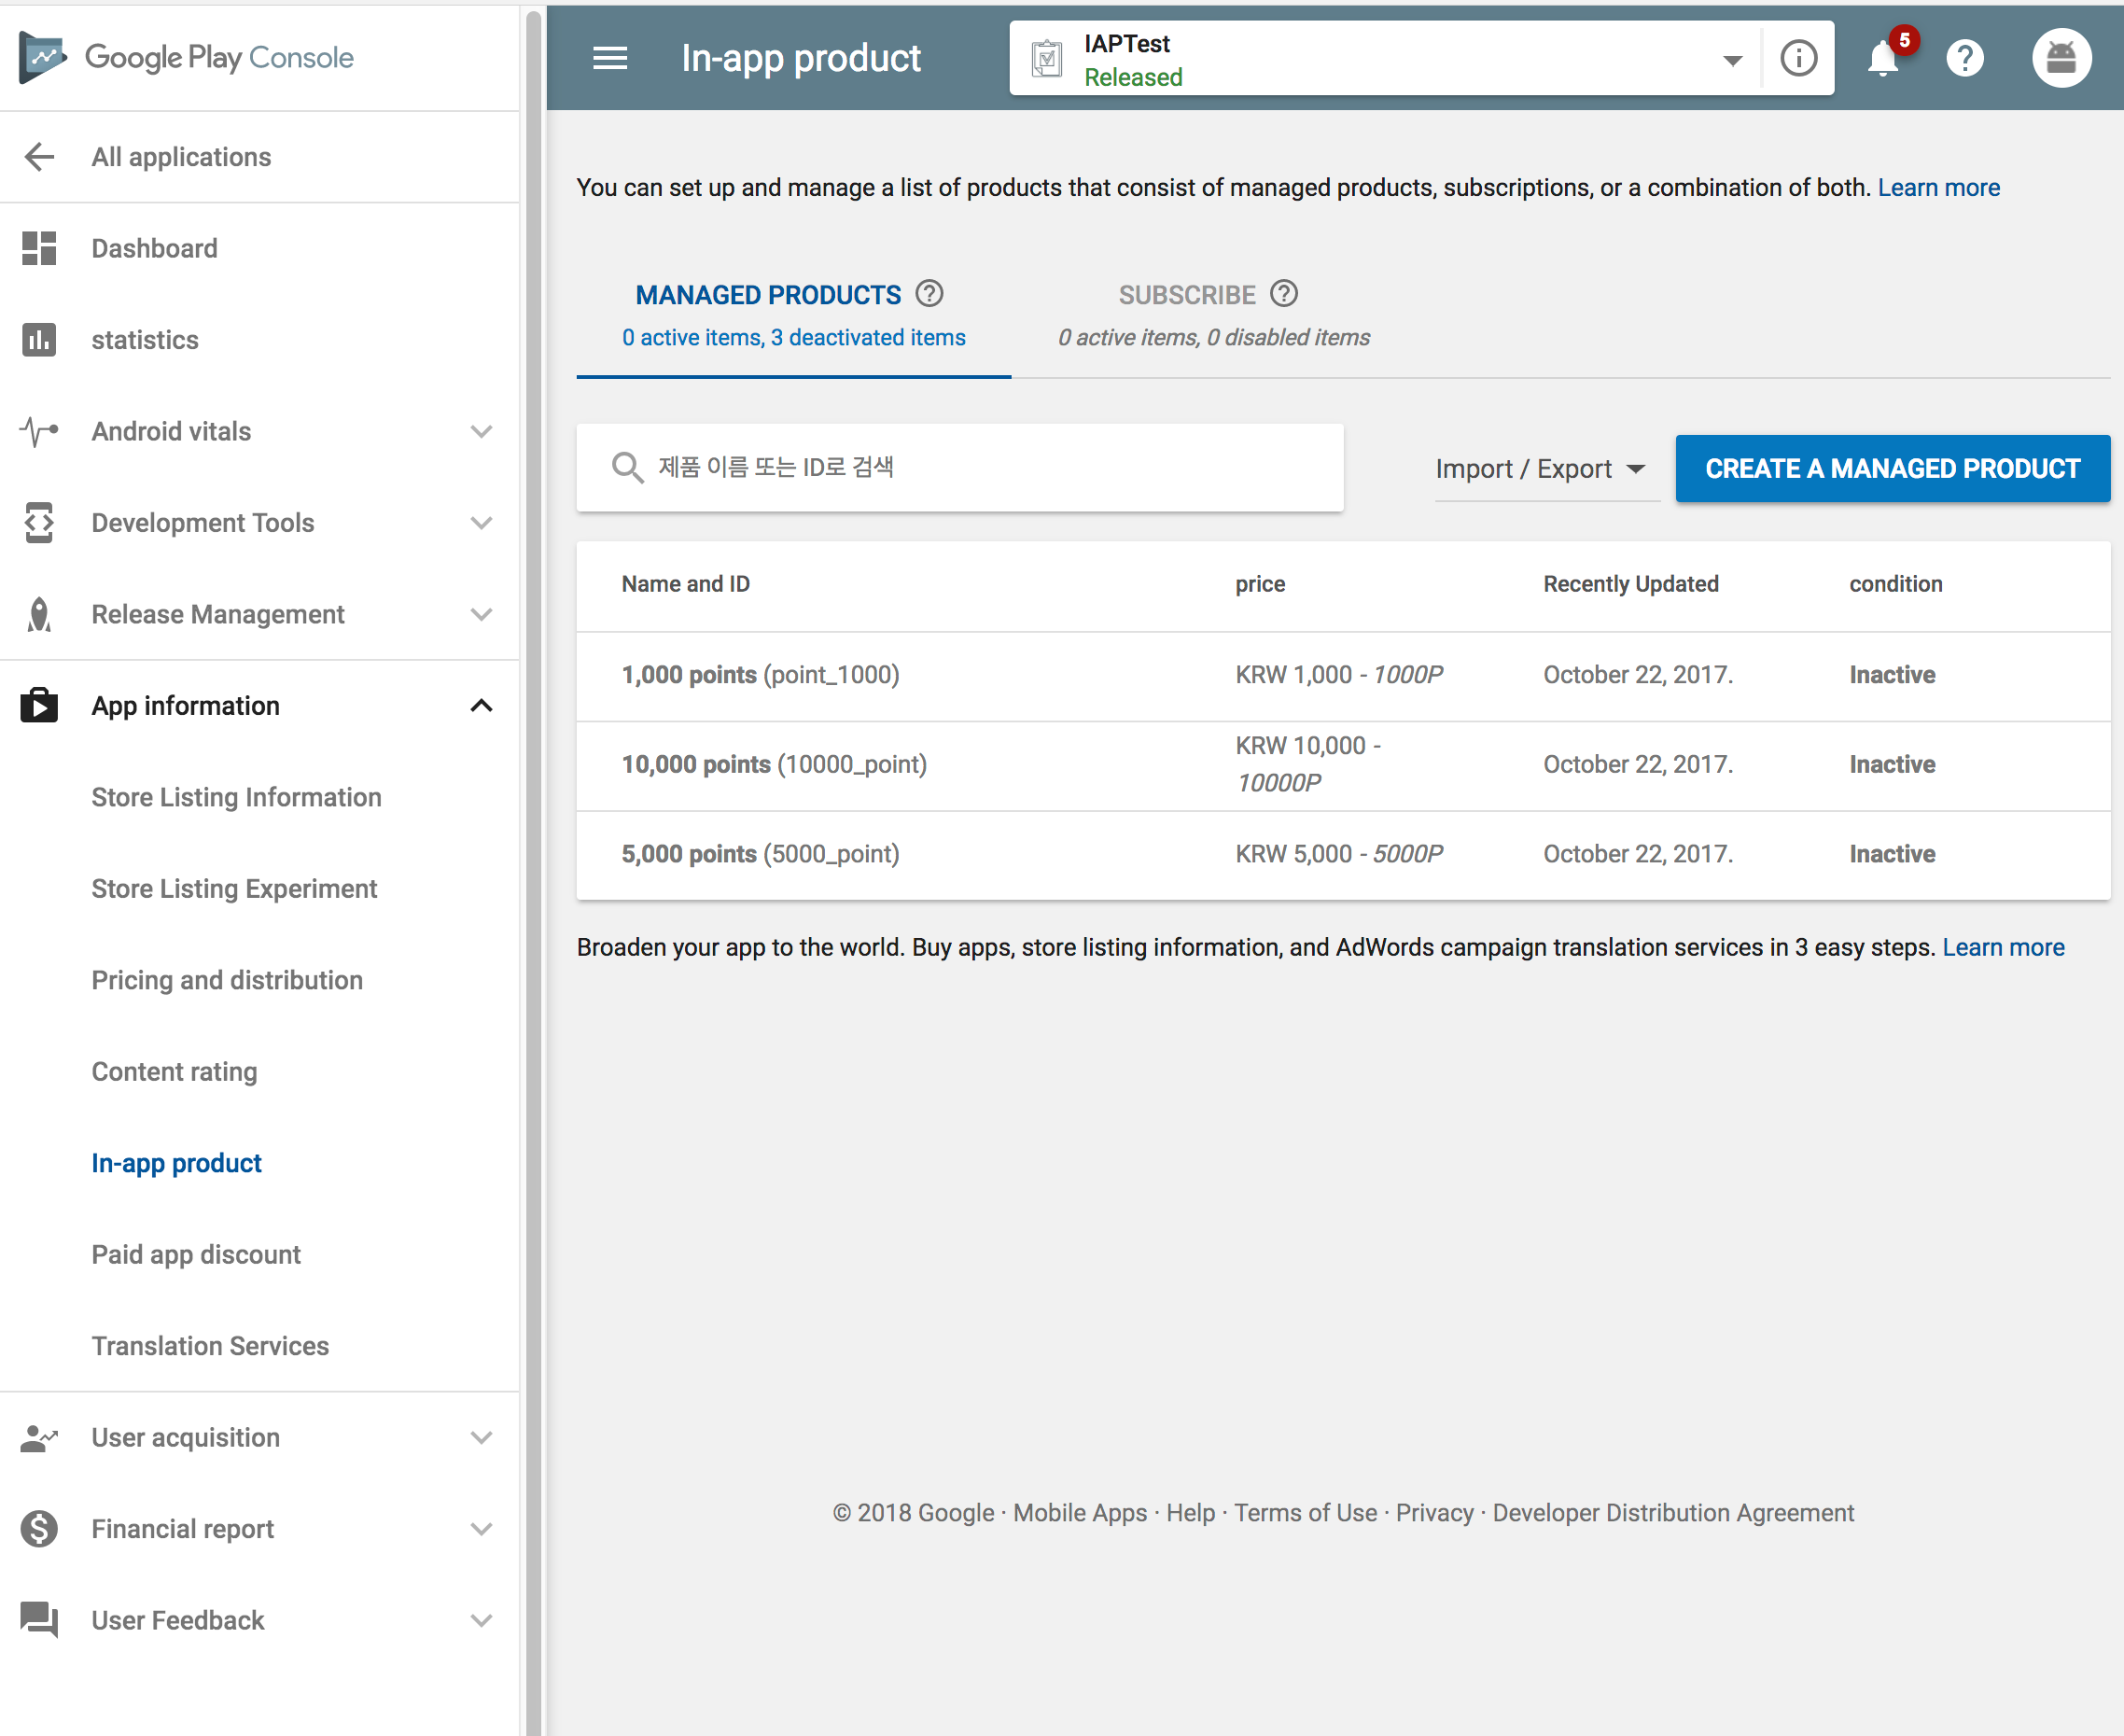
- If you’ve done it, you can create a managed product or subscribe products as shown in below screenshot.
Flow Overview
- Using ‘react-native-iap” library, we fetch subscription details with the previously configured subscription SKUs for different platforms.
- We display on the screen, the localized price and title of the subscription detail.
- The user selects a subscription plan and completes a purchase.
- The Subscription plan is immediately active and auto-renewable.
- To cancel a plan, The user will have to go to the phone App settings and log in to the services provider
- Select subscriptions and find the list of subscriptions available.
Codebase
All the code related to In-App purchases lives in src/Core/inAppPurchase. Among the most important classes, we can list:
- IMSubScriptionScreen
- This is a component for display.
- Here, we have the UI for the subscription screen.
- It also starts a subscription purchase when we press the Purchase button in the UI.
- IAPManagerWrapped
- This returns a context that wraps the main App.
- It also manages the logic for completing a purchase.
- It manages the logic for checking and getting a subscription plan a device.
- It also loads active subscription plan from the Firebase Firestore in case we have an active subscription but we are logged in on a different device with no subscription plan.
- It also validates IOS transaction receipts.
Validating IOS Transaction Receipts. To validate a transaction receipt on IOS, you will need to generate an App-Specific Shared Secret
In the Features screen of App Store Connect app, we can see a link
App-Specific Shared Secret
Click on it and generate a new App Secret. This app secret is necessary to validate a transaction receipt.
enter the generated shared secret in src/DatingConfig.js
IAP_SHARED_SECRET: 'enter_shared_secret_here',