Have you ever wondered how to make an app like Uber using React Native? Taxi apps such as Uber, Lyft, Didi or Ola have been extremely popular in the last couple of years, and that is highly correlated with the fact that the cost of building a mobile app like Uber, with Maps and Geolocation Tracking functionality has decreased dramatically. At Instamobile, we offer high-quality React Native Templates to help developers start their app faster. Check out our stunning Uber Clone, in case you want to skip at least one year of development for your taxi booking app.
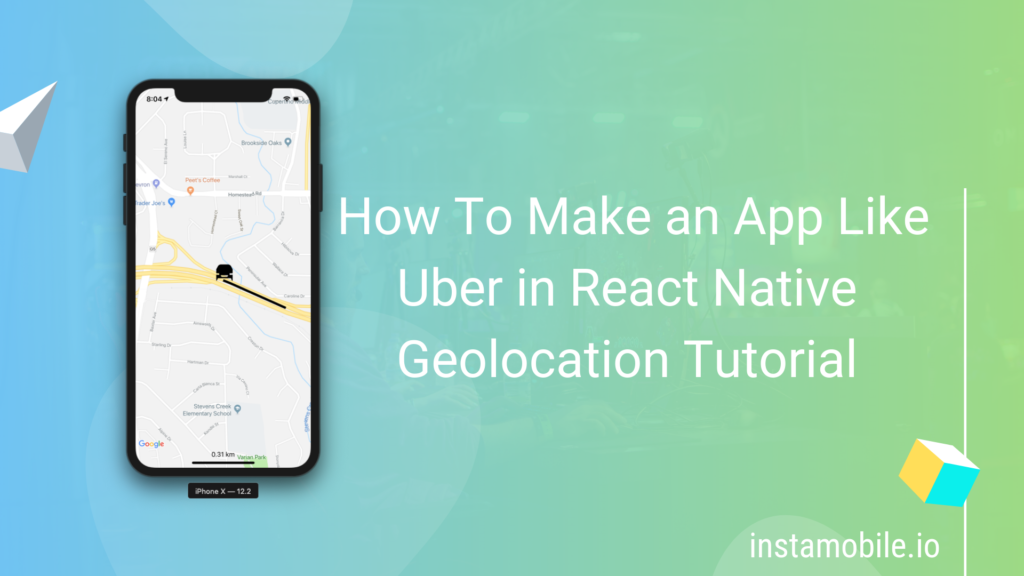
In this React Native tutorial, we are going to learn how to make an app like Uber in React Native, by leveraging the react-native-maps package, which is compatible with both iOS and Android. It is used for geolocation functionalities, such as location, geofencing, map directions, trajectory monitoring, and GPS tracking.
Here’s a high-level overview of what you are going to learn and implement in this React Native tutorial on Geolocation:
- Setting up Google Maps in a React Native project by using react-native-maps package.
- Configuring Google Maps for the iOS platform
- Integrating Google Maps API key into a React Native project.
- Retrieving the user’s current location before tracking them.
- Tracking the user’s movement on the map
- Setting your iPhone device to simulate driving.
- Drawing simple polylines along the route that the device travels.
Let’s demonstrate the use of the react-native-maps package in React Native projects. react-native-maps npm package is the React Native Map component for iOS and Android which will help us configure geolocation in React Native. The library ships with platform native code that needs to be compiled together with React Native. This requires you to configure your build tools accordingly. The actual map implementation depends on the platform. On Android, we have to use Google Maps, which in turn requires you to obtain an API key for the Android SDK.
Setting Up Google Maps
Firstly, let’s create a new empty React Native project. Then, you can install react-native-maps package, by running the following npm command:
npm install react-native-maps --save
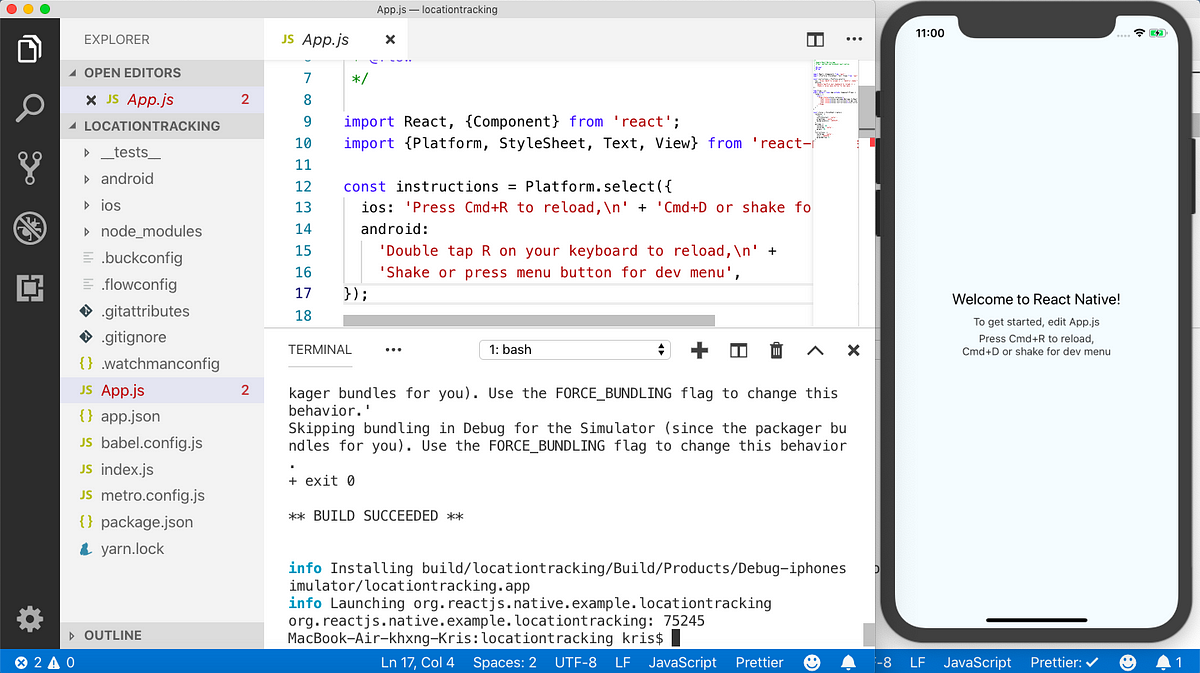
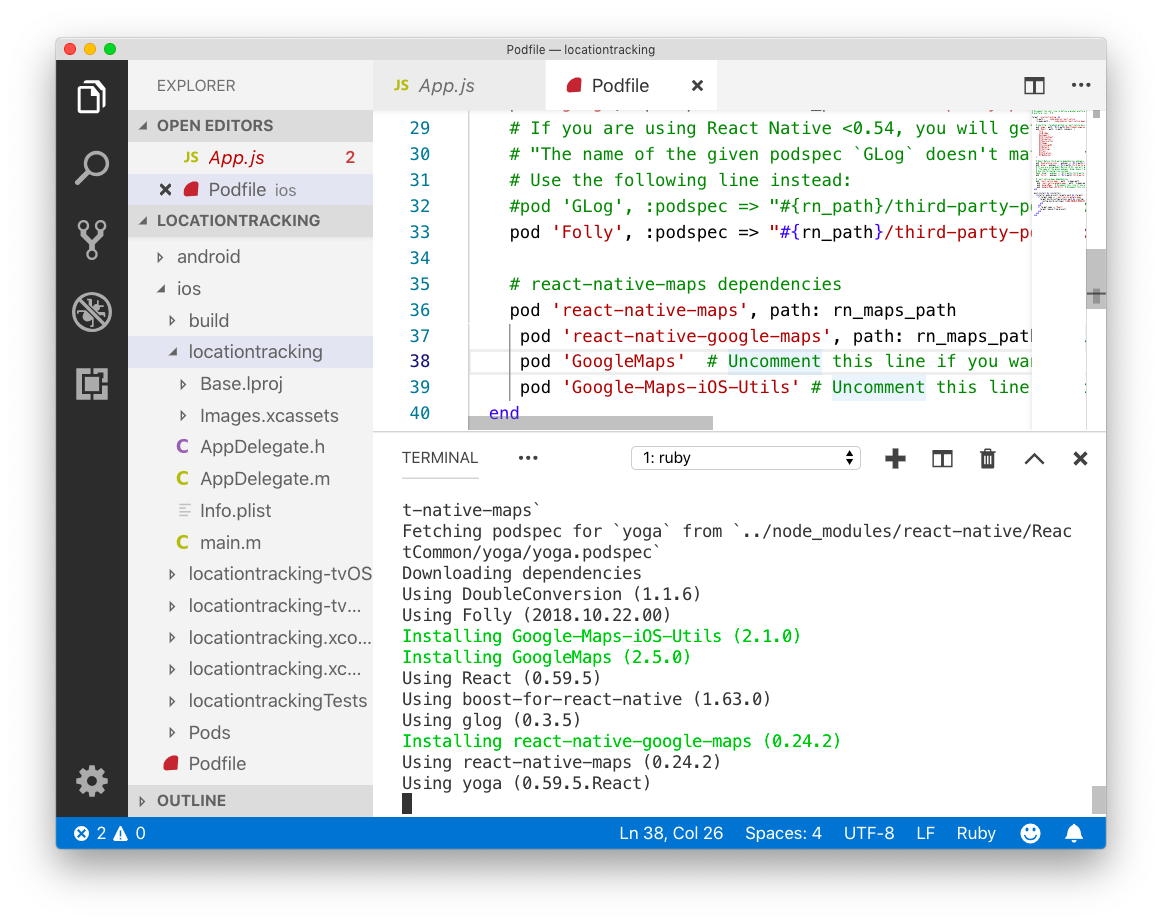
Here, we install react-native-maps by following the official installation instructions. However, in this tutorial, we will be using Google Maps, so let’s install it:
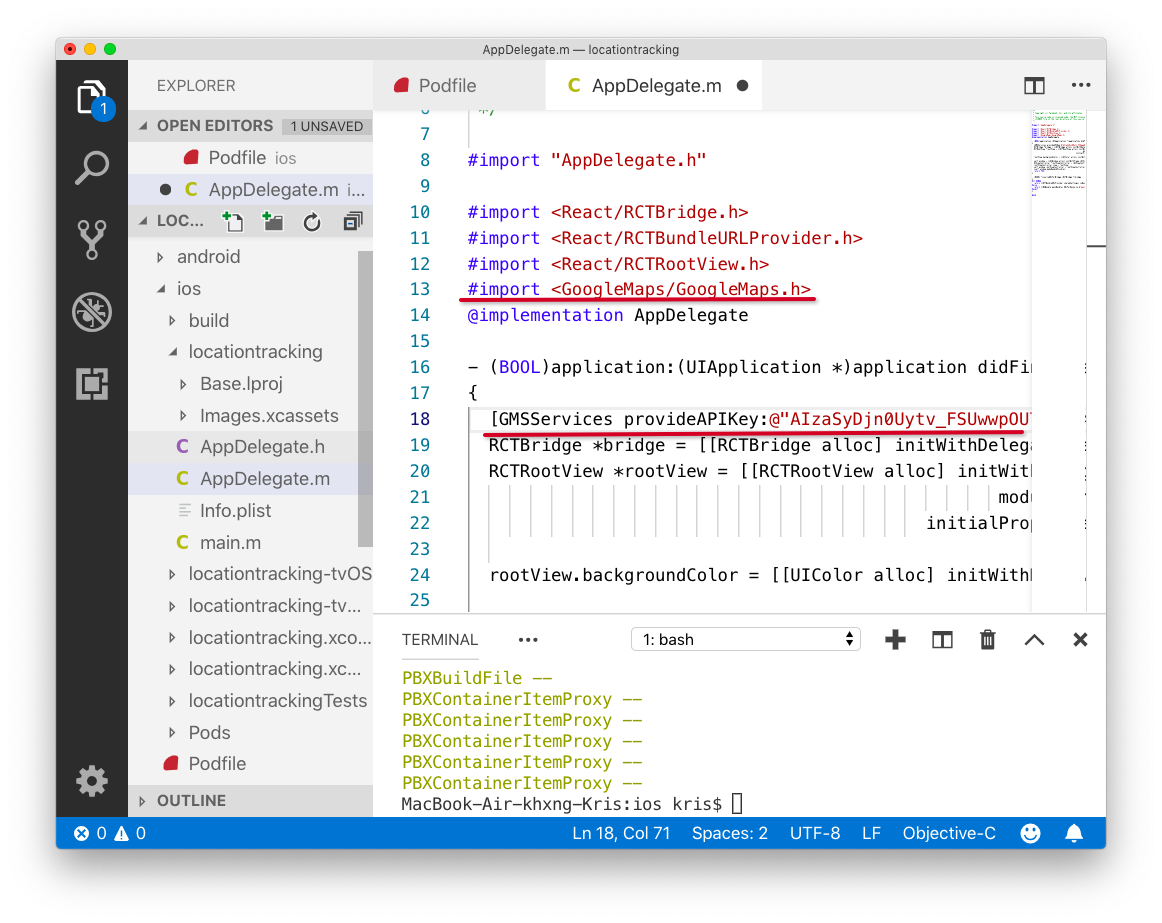
The next step is to open AppDelegate.m, which resides in the ios folder, and import the GoogleMaps library as shown below. To properly activate the newly imported library, you need to provide your own API Key (see line 18 below), that you can grab from the Google Admin Console:
To use Google Maps in our React Native project, we need to import MapView and PROVIDER_GOOGLE from the react-native-maps library:
import MapView, { PROVIDER_GOOGLE } from "react-native-maps";
Once you’ve imported those, just replace the old code with the following code snippet :
<View style={styles.container}>
   <MapView
      provider={PROVIDER_GOOGLE}
      style={{ ...StyleSheet.absoluteFillObject }}
    />
</View>
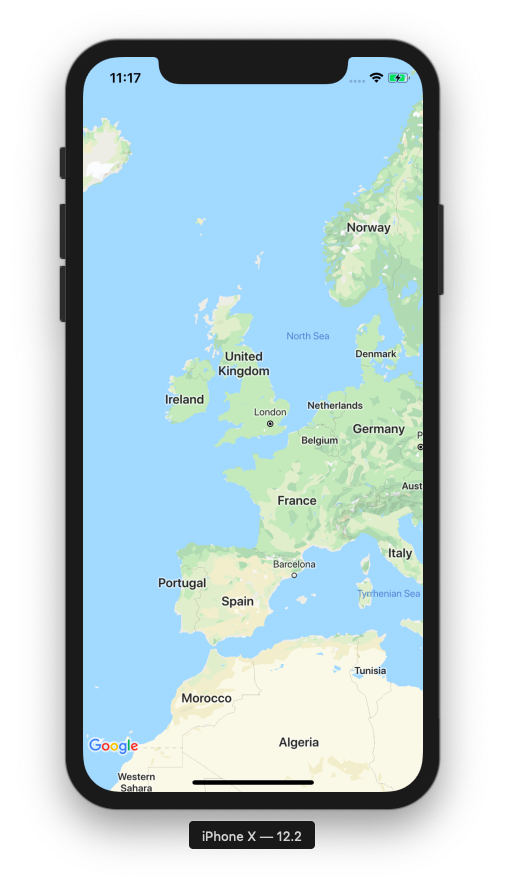
Now run your React Native project in the iOS simulator. You should see a simple map displaying the current device location as a random place on earth. This is because the simulator doesn’t show the real location:
To fix the location issue, you can change the map measurement constants like longitudes and latitudes. You can do this using the following piece of code:
const LATITUDE_DELTA = 0.009;
const LONGITUDE_DELTA = 0.009;
const LATITUDE = 18.7934829;
const LONGITUDE = 98.9867401;
Now you can create a state using the following piece of code:
constructor(props) {
 super(props);

 this.state = {

  latitude: LATITUDE,

  longitude: LONGITUDE,

  error: null

 };

}
After that, you can create a setter function as follows:
getMapRegion = () => ({
 latitude: this.state.latitude,
 longitude: this.state.longitude,
 latitudeDelta: LATITUDE_DELTA,
 longitudeDelta: LONGITUDE_DELTA
});
Now, in your React component, you can fill the map region view using the following code:
<View style={styles.container}>

<MapView style={styles.map}
         provider={PROVIDER_GOOGLE}
         region={this.getMapRegion()} />

</View>
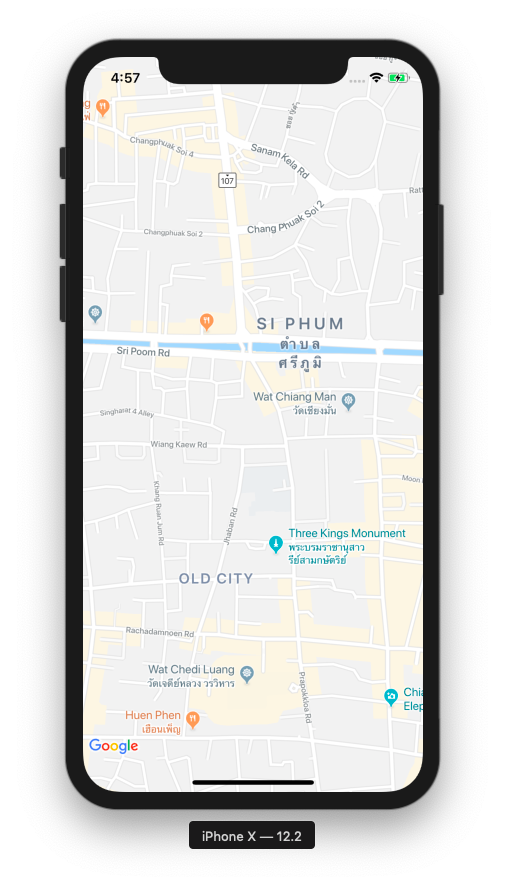
Refresh the simulator. As a result, you will see the following screen in your project simulator.
Retrieving the Device Geolocation in React Native
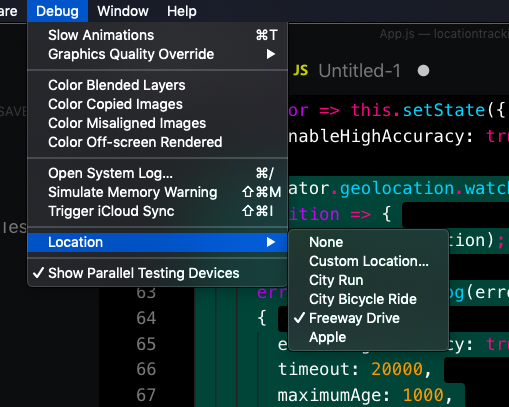
In the next step, you need to fetch the current device location. You can set the device location for an iOS simulator by going to Debug -> Location -> Custom Location, as illustrated below:
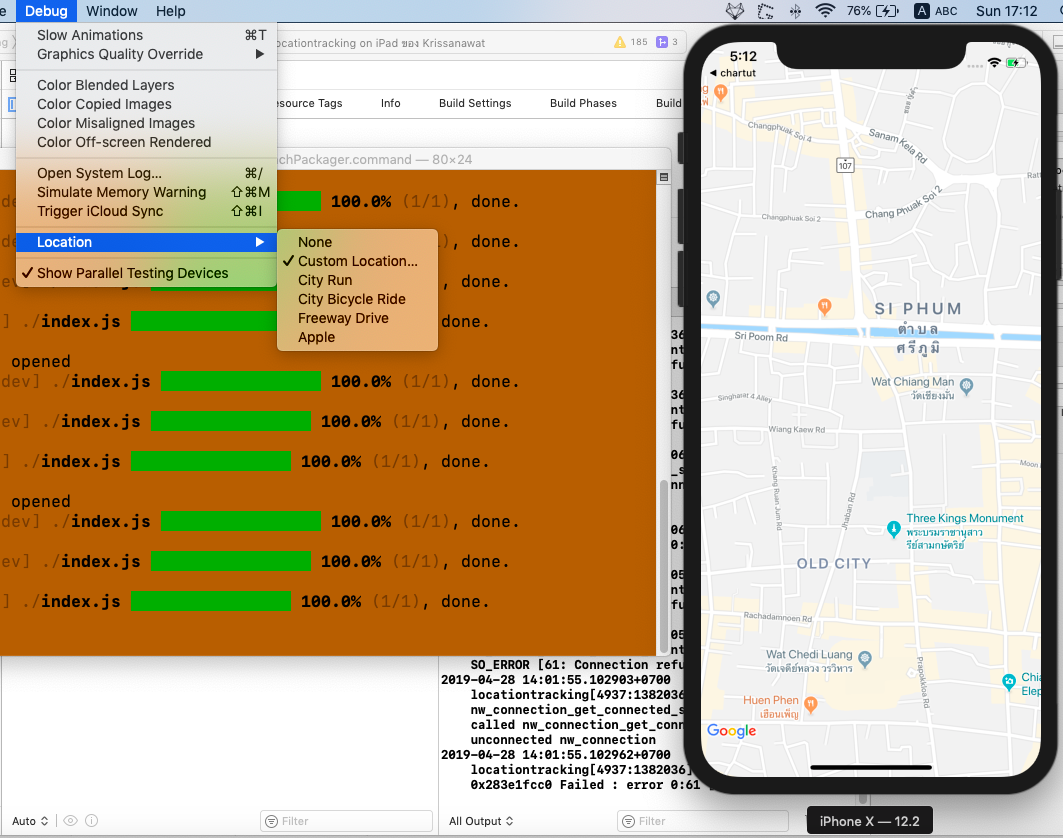
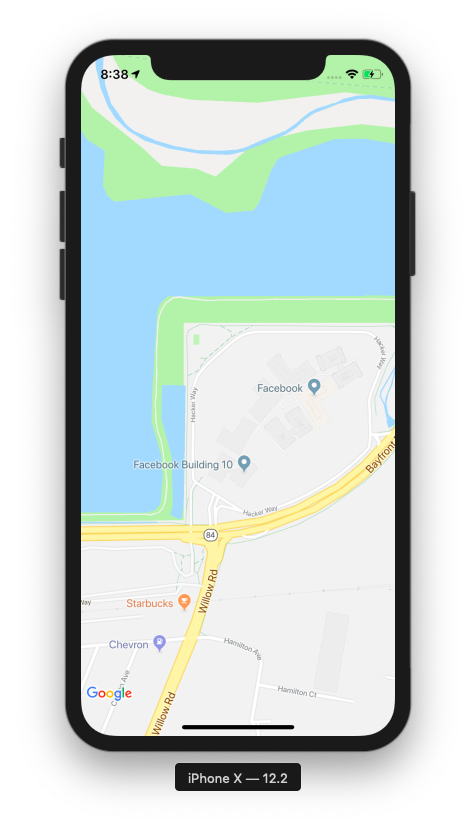
Just for fun, let’s set the location to Facebook’s HQ:

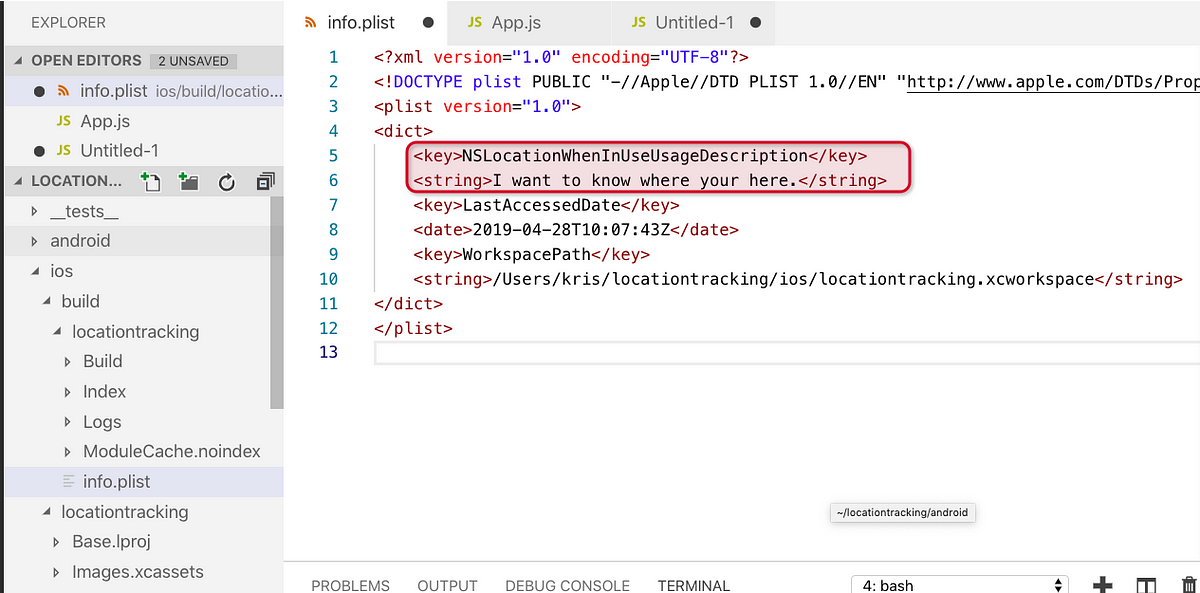
You need to ask users for permission to access their current geolocation. To achieve this, let’s open Info.plist file and add the following snippet of code:
key>NSLocationWhenInUseUsageDescription</key>
<string>I want to know where your here.</string>
As shown in the example screenshot below:
Let’s now add some code to the method componentDidMount():
componentDidMount() {

 navigator.geolocation.getCurrentPosition(

  position => {

    console.log(position);

    this.setState({

     latitude: position.coords.latitude,

     longitude: position.coords.longitude,

    error: null

   });

 },

 error => this.setState({ error: error.message }),

  { enableHighAccuracy: true, timeout: 200000, maximumAge: 1000 }

  );
}
If you refresh the simulator after these changes, you’ll be prompted to allow location tracking:
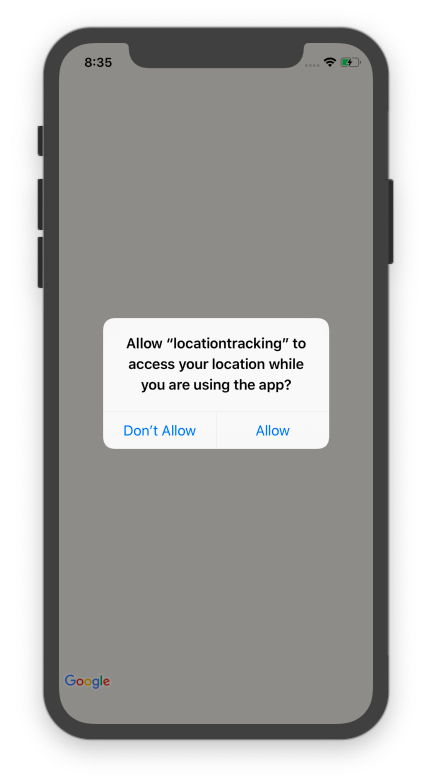
If you accept the permissions dialog, the map will center around your current location, which for the current simulator it is Facebook HQ.
Adding a Marker on The Map in React Native
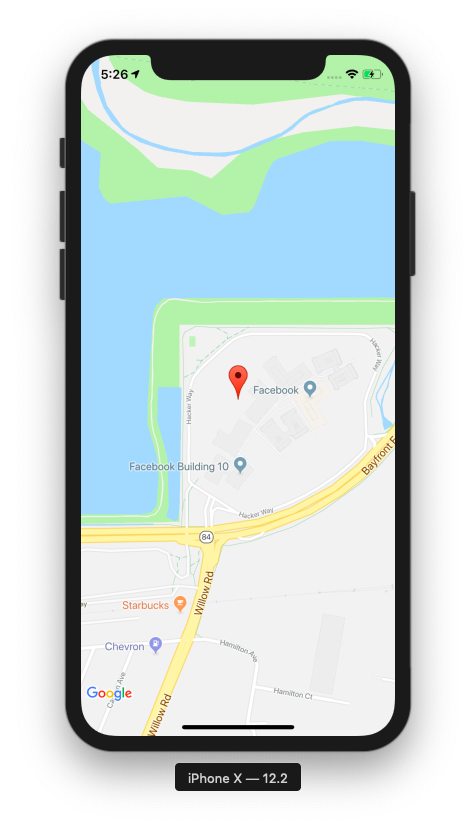
To add a Marker UI element on the map in a React native project, we need to import the Marker instance from the react-native-maps library:
import MapView, { Marker, PROVIDER_GOOGLE} from "react-native-maps";
Then, add this to MapView as follows:
<MapView style={styles.map} provider={PROVIDER_GOOGLE} region={this.getMapRegion()} >

   <Marker coordinate={this.getMapRegion()} />

</MapView>
Now, refresh your project simulator and see the following attachment :
Retrieving the Current Location when Moving
To build an app like Uber, we need to find out the user locations while they are traveling on the map, from one place to another. To implement this feature, which is supported in all Taxi apps, you need to add the following code snippet. That’s all you need to get the current geolocation:
navigator.geolocation.watchPosition(

 position => {
  console.log(position);
 },

 error => console.log(error),
 {
   enableHighAccuracy: true,
   timeout: 20000,
   maximumAge: 1000,
   distanceFilter: 10
 }
);
Here, we use the watchPosition observer to get the geolocation when a device moves geographically. You can try to change location mode in the Debug Menu:
To visualize the result, you can open the Debug Console in Chrome:
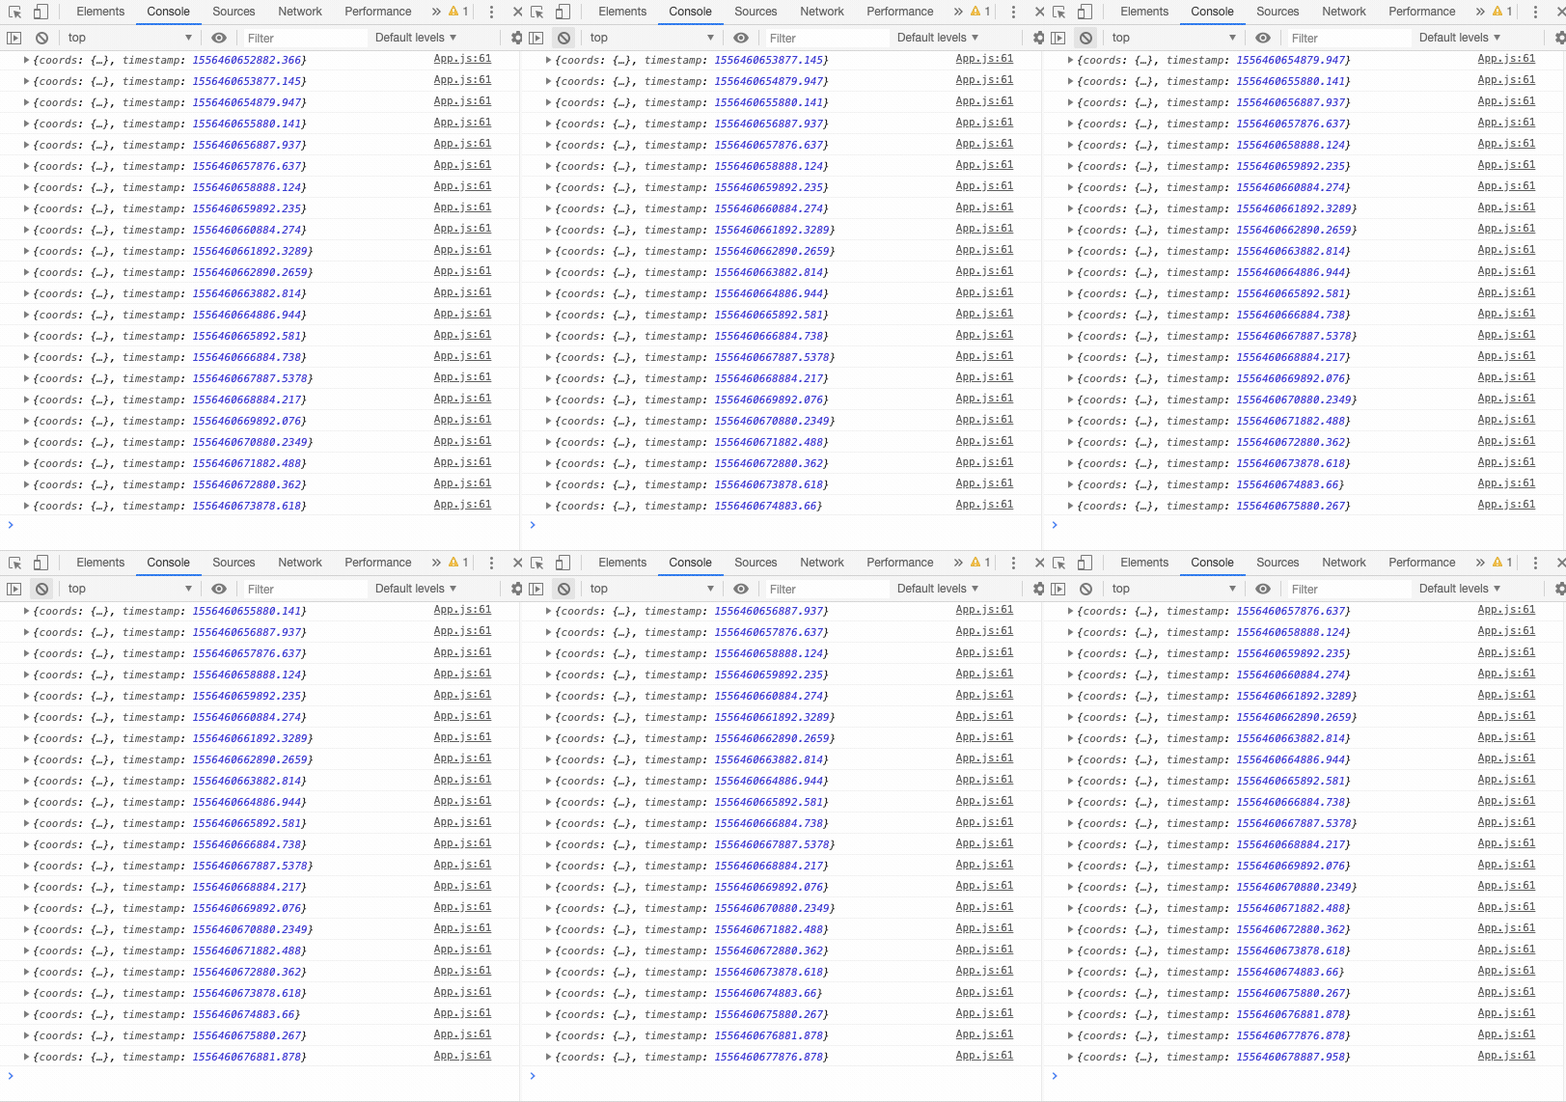
Here, we can see live the data feed from the marker function. Now, by using the feed data, we can set the state as follows:
navigator.geolocation.watchPosition(
 position => {
  const { latitude, longitude } = position.coords;
  this.setState({ latitude,longitude

  });
},
Then, you can change location mode to freeway drive:
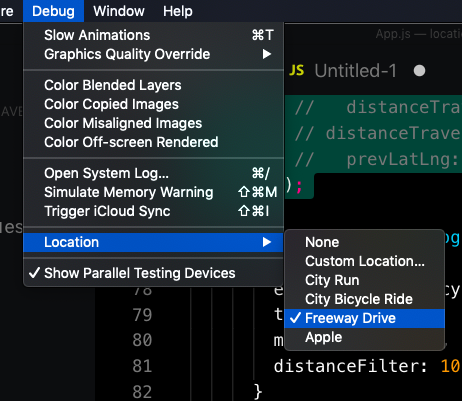
As a result, you can see the marker’s movements in the following simulation:
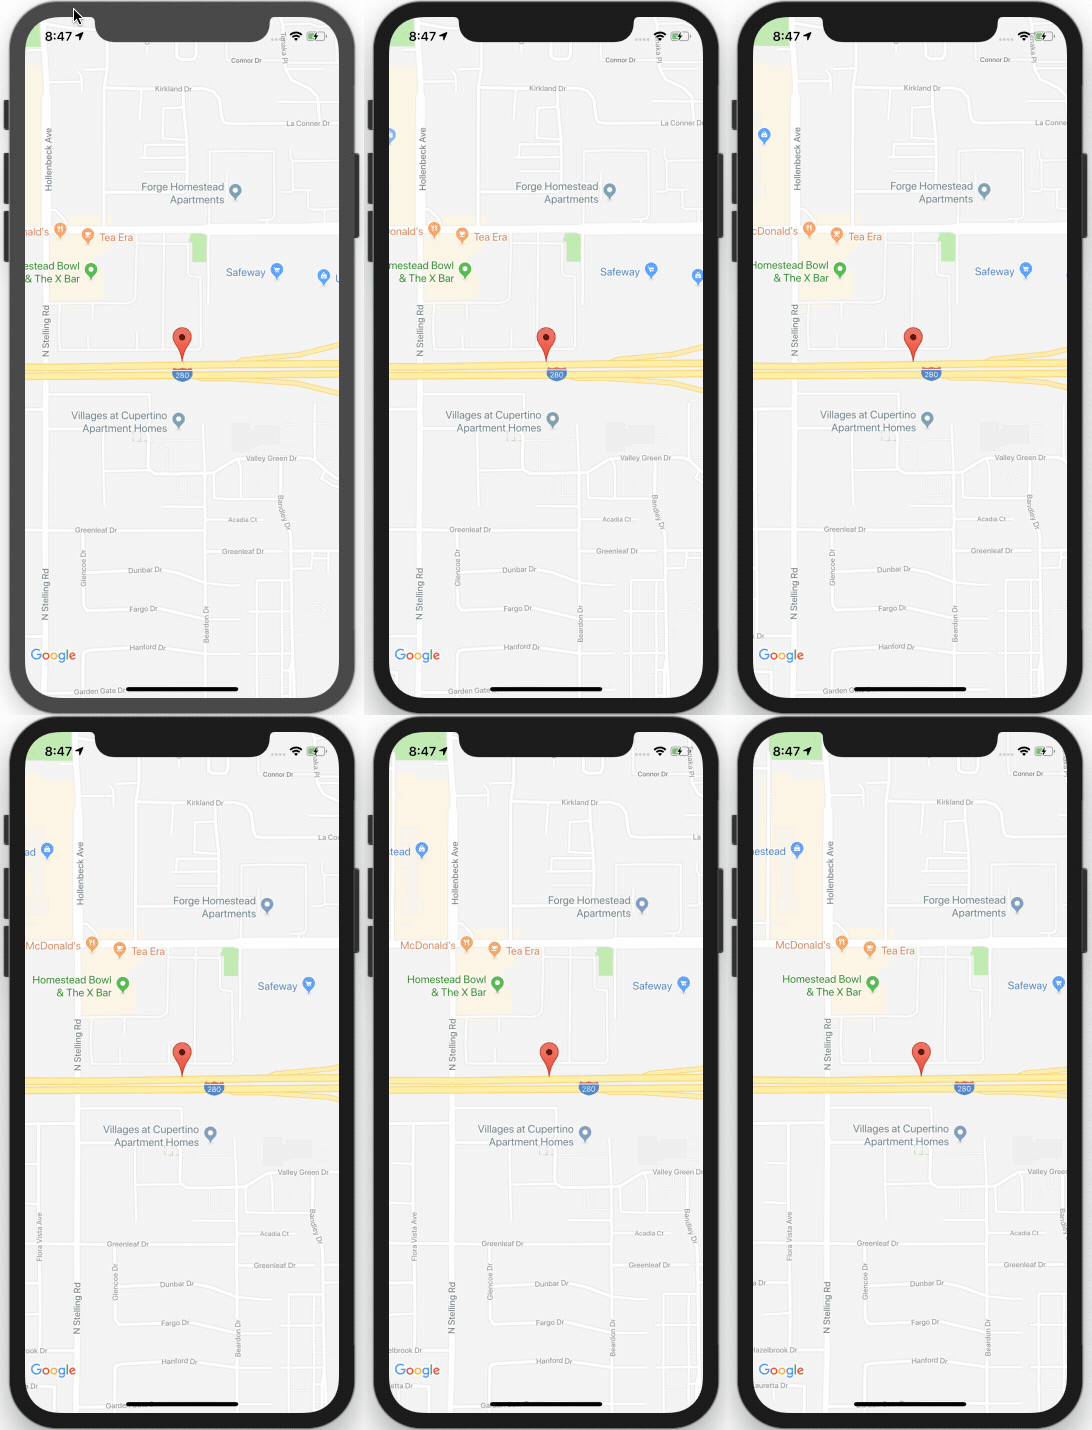
Congratulations! You have completed the basic Taxi app functionality in your own React Native project. To build an app like Uber, we also need to draw the trajectory of cars, so let’s go ahead and do that.
Drawing Trajectory (Route) Polyline while Driving
Let’s draw the polyline to the path that the device is moving along. Firstly, you need to import the Polyline library from react-native-maps as follows:
import MapView, {Marker, Polyline,PROVIDER_GOOGLE} from "react-native-maps";
Then, add the polyline to the current MapView:
<View style={styles.container}>
  <MapView style={styles.map} provider={PROVIDER_GOOGLE} region={this.getMapRegion()} >
    <Polyline coordinates={this.getMapRegion()} strokeWidth={2} />
    <Marker coordinate={this.getMapRegion()} />
  </MapView>
</View>
If you try to run your project now, you will most likely get the following error, stating that an NSMutableDictionary cannot be converted to NSArray:
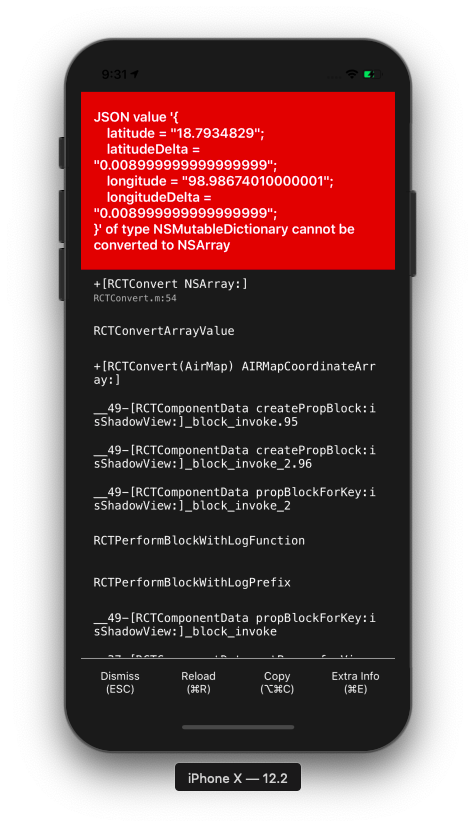
But, the error occurs if we insert an invalid value to the Polyline. From the official tutorial, you need to create an array of latitudes and longitudes. For that, you can create a new state variable name routeCoordinates and set its type to a blank array:
     this.state = {
               latitude: LATITUDE,
               longitude: LONGITUDE,
               error: null,
               routeCoordinates: [],
     };
Then, you need to go to watchPosition part to change its implementation to:
navigator.geolocation.watchPosition(
 position => {
  const { latitude, longitude } = position.coords;
  const { routeCoordinates } = this.state;
  const newCoordinate = {  latitude,  longitude  };
  this.setState({
   latitude,
   longitude,
    routeCoordinates: routeCoordinates.concat([newCoordinate])
  });
},
- First, you need to grab the past position value from the state.
- Second, you need to create a new position element
- Third, you need to concatenate the old and new arrays together.
- Lastly, you need to insert to the polyline as follows:
<Polyline coordinates={this.state.routeCoordinates} strokeWidth={5} />
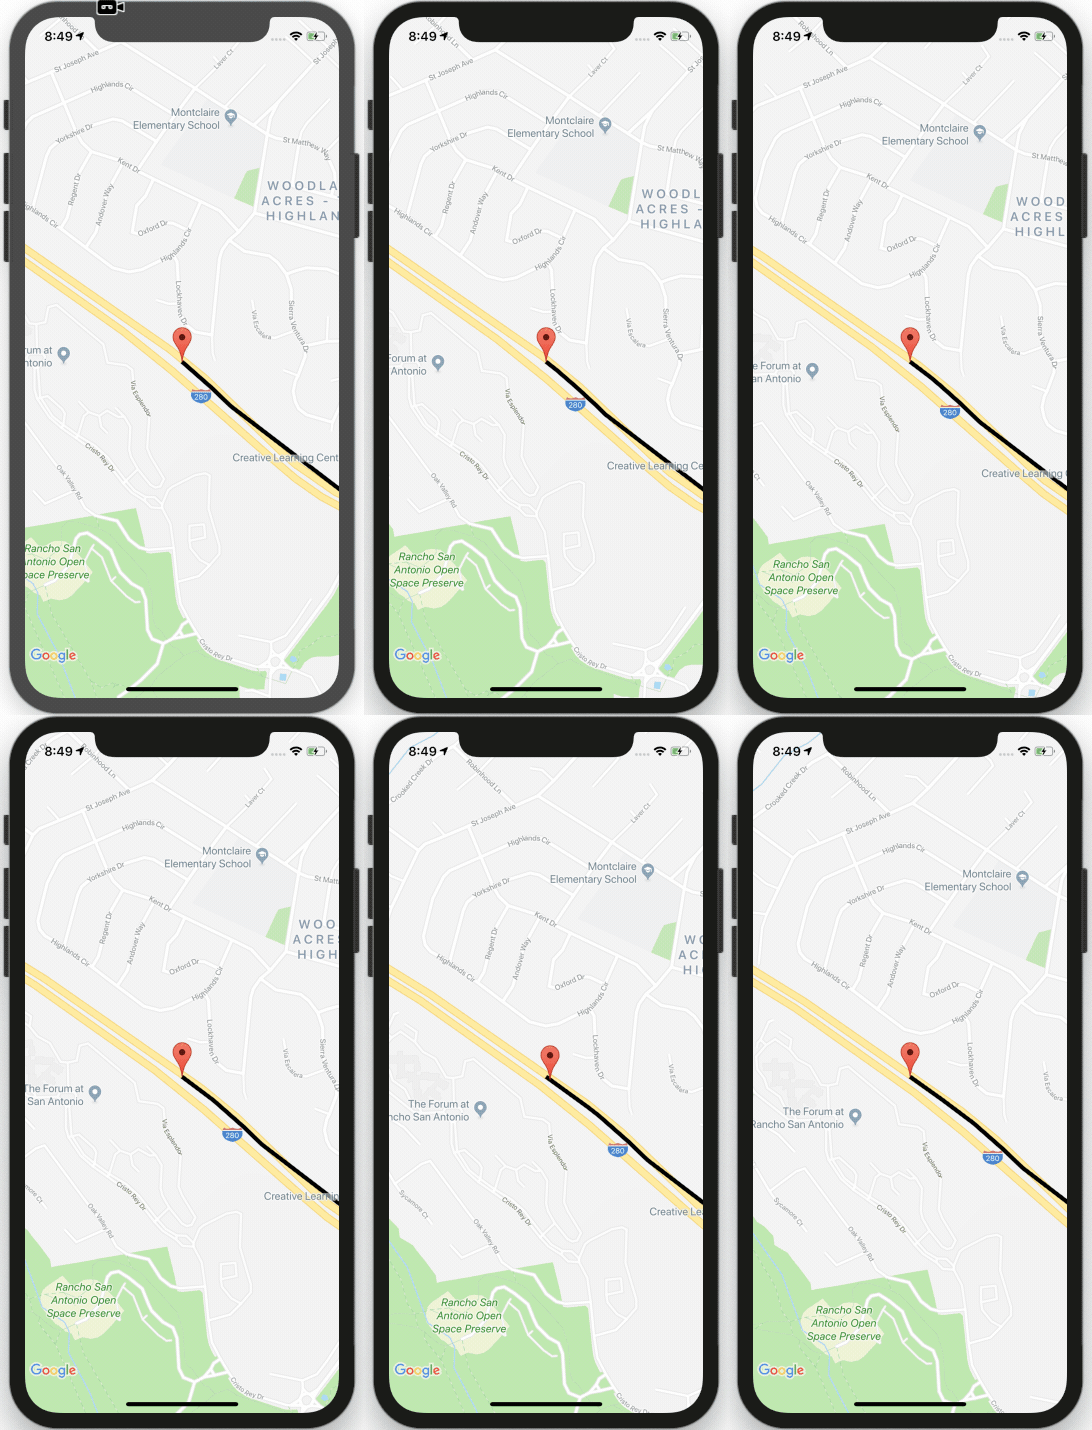
Now restart the simulator once again. You should see a route path as in the image below:
Showing the Traveled Distance in React Native
Computing the traveled distance is a core feature of Taxi apps like Uber, since car sharing apps charge their riders based on how much that distance is. Let’s see how the geolocation API’s in React Native allow us to calculate the distance of a car’s route.
We need to configure how far we are moving to showcase the traveled distance. Let’s create two new state variable and add them to our Uber clone app:
this.state = {
                latitude: LATITUDE,

                longitude: LONGITUDE,

                error: null,

                routeCoordinates: [],

                distanceTravelled: 0,  // contain live distance

                valueprevLatLng: {}  // contain pass lat and lang value
}
Then, go to watchposition function again:
navigator.geolocation.watchPosition(
  position => {
   const { latitude, longitude } = position.coords;
   const { routeCoordinates,distanceTravelled  } = this.state;
   const newCoordinate = {
    latitude,
    longitude
   };
   this.setState({
    latitude,
    longitude,
    routeCoordinates: routeCoordinates.concat([newCoordinate]),
    distanceTravelled: distanceTravelled + this.calcDistance(newCoordinate),
    prevLatLng: newCoordinate
   });
},
This is not hard: you just need to get the old value and sum it up with the new value. However, the complicated scene occurs when you need to deal with the earth curve.
For calculating the distance between latitude and longitude you need to use the Haversine formula. This formula is difficult to understand for those who got straight ‘D’s in Math, but fortunately, NPM provides us with a library for calculating the haversine formula.
Install haversine npm package using the following command:
yarn add haversine
or
npm install haversine
Now, import haversine package and create new function name calcDistance() as follows:
calcDistance = newLatLng => {
  const { prevLatLng } = this.state;
  return haversine(prevLatLng, newLatLng) || 0;
};
Here, we extract the previous latitude and longitude values from the state to compute the new distance. To show the live data on the map, add a new view code as follows:
<View style={styles.container}>

 <MapView style={styles.map} provider={PROVIDER_GOOGLE} region={this.getMapRegion()} >

  <Polyline coordinates={this.state.routeCoordinates} strokeWidth={5} />

  <Marker coordinate={this.getMapRegion()} />

 </MapView>
 <View style={styles.distanceContainer}>
     <Text>{this.state.distanceTravelled} km</Text>
 </View>
</View>
and some styles to make our car-hailing app more beautiful:
distanceContainer: {
                flexDirection: "row",
                marginVertical: 20,
                backgroundColor: "transparent"
}
You should see the live updates once you rebuild your app:
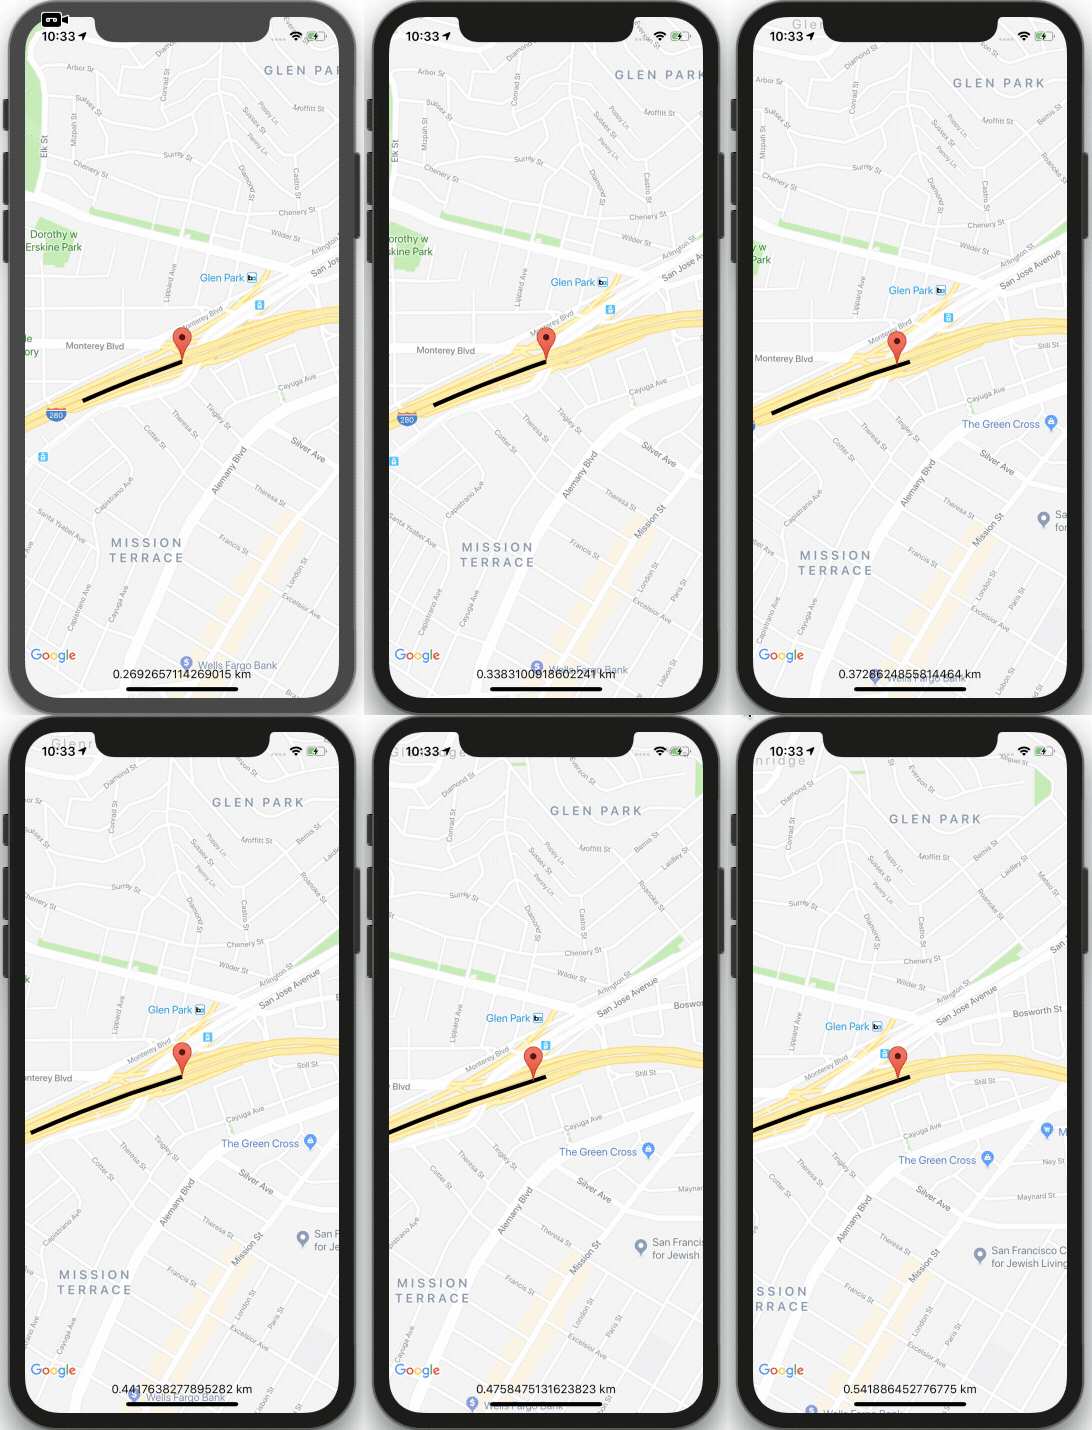
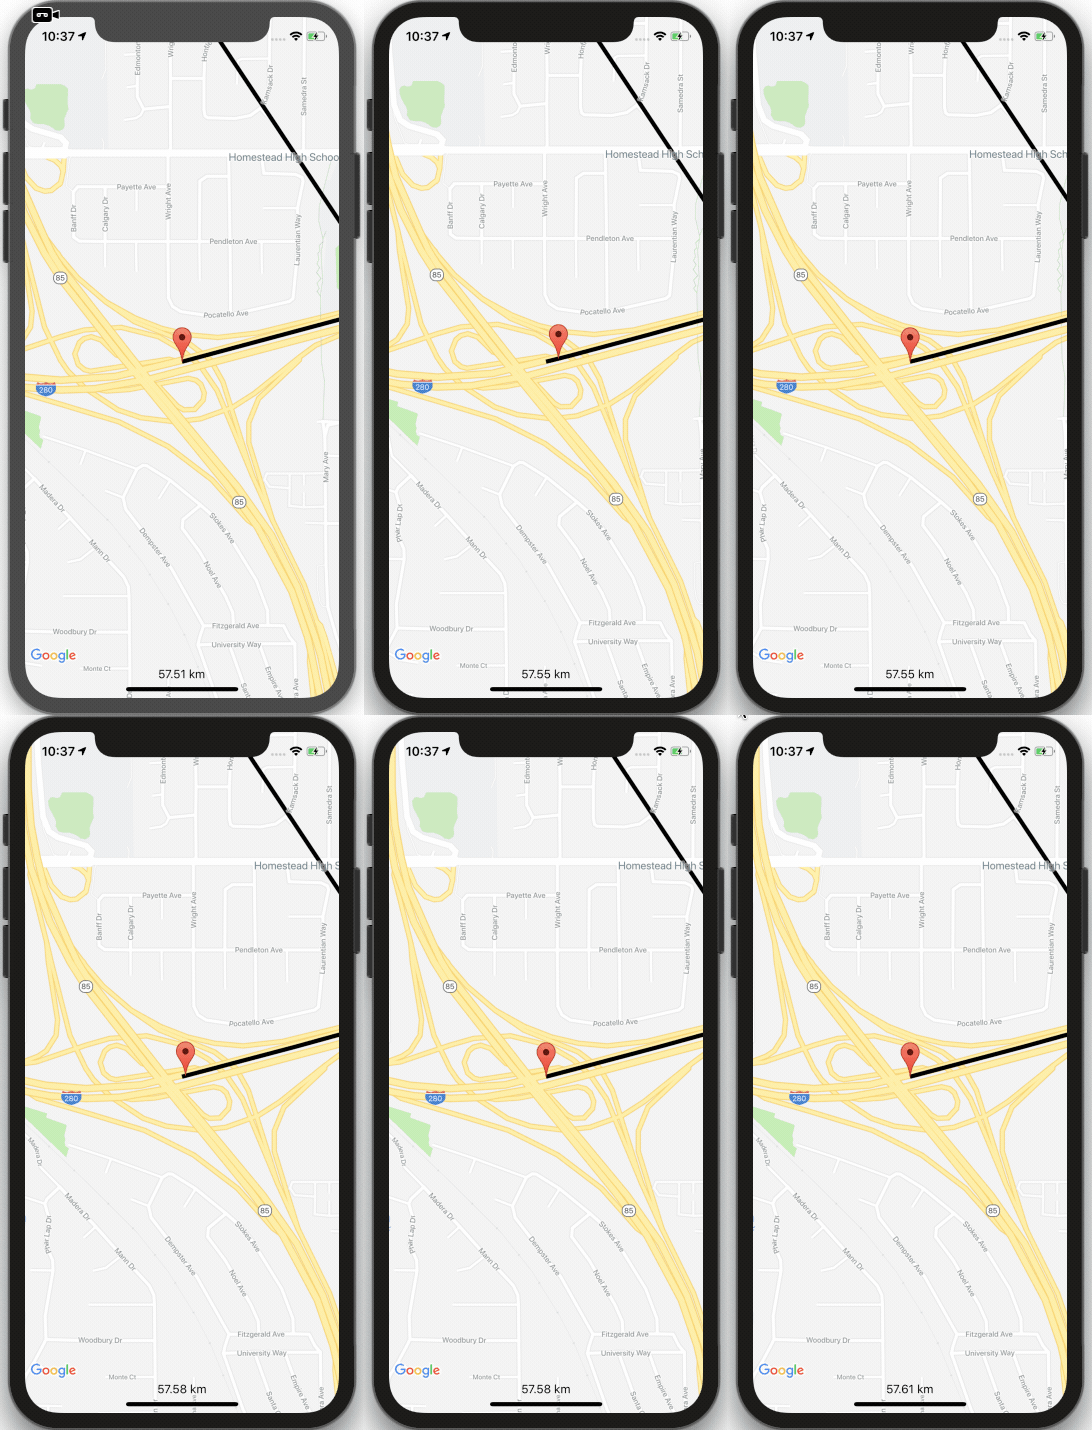
As you can see, the value of the distance is too long. We don’t need that much precision, so try to shorten them using the following code:
<View style={styles.distanceContainer}>
    <Text>{parseFloat(this.state.distanceTravelled).toFixed(2)} km</Text>
</View>
Then, refresh the simulator once again.
Using a Custom Marker Icon
To build a ride-sharing app like Uber in React Native, we need to show car icons on the maps, rather than the default Google Map Marker. Fortunately, the npm geolocation package that we are using allows us to use a custom marker icon easily.
First, find a car icon that you like. Paste the downloaded icons to the assets folder of your React Naive project, and add an Image component to your MapView:
<Marker coordinate={this.getMapRegion()}>

   <Image source={require("./car.png")} style={{ height: 35, width: 35 }} />

</Marker>
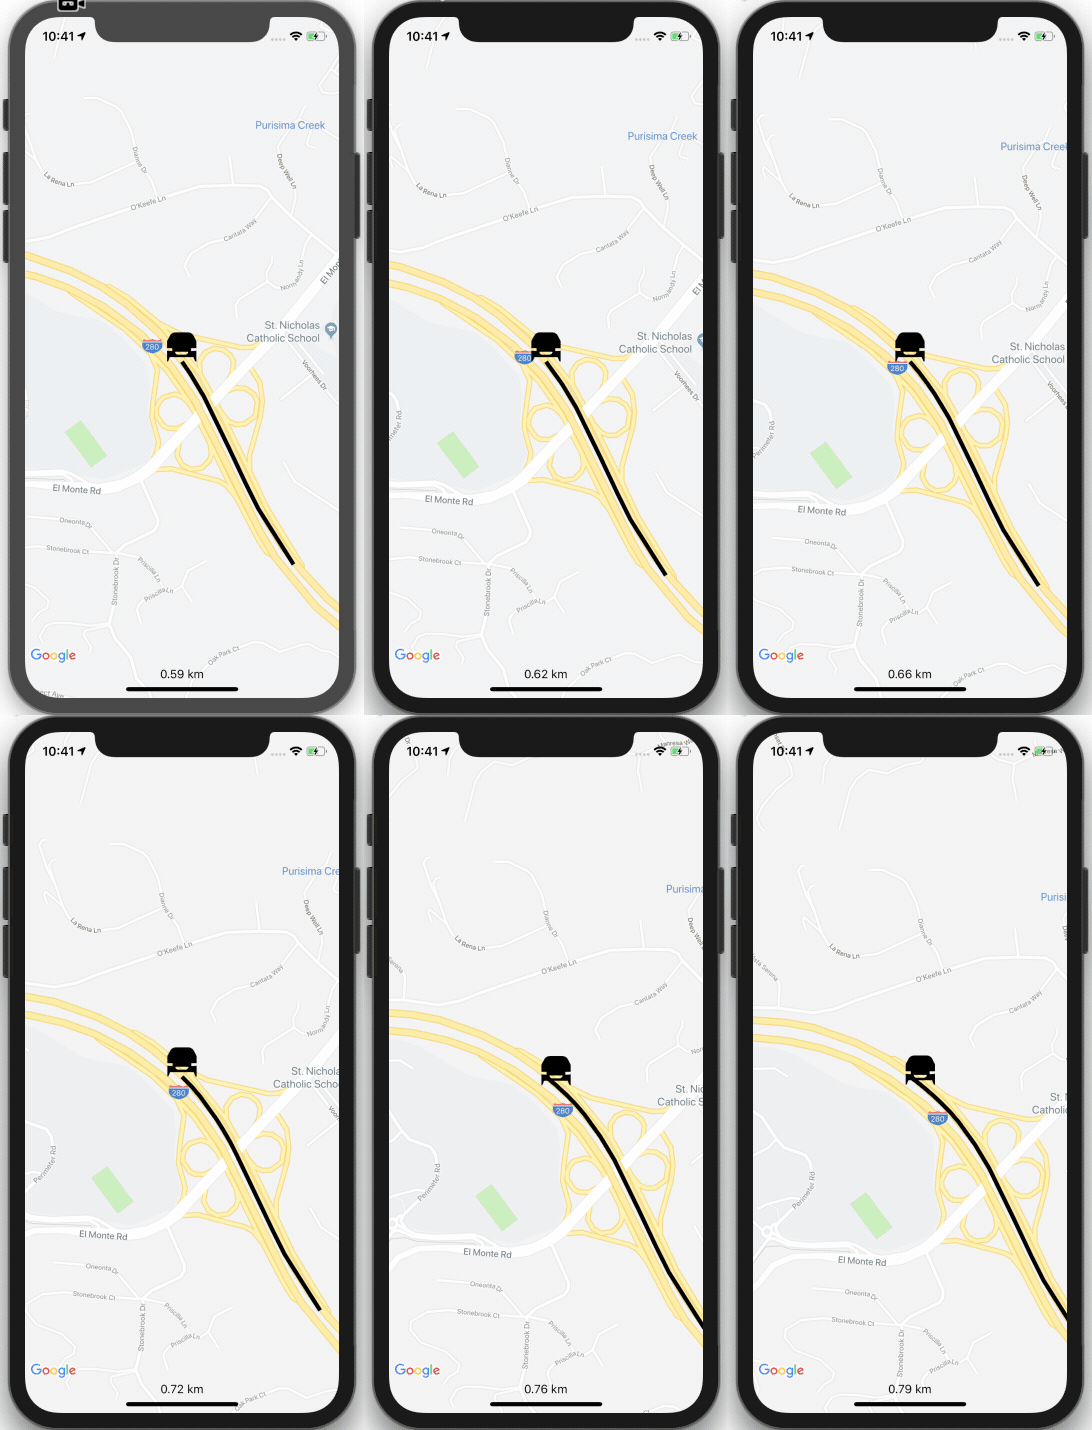
We’ve finally built our own Uber Clone in React Native. Here’s the final result. Congratulations!
Summary
In this React Native tutorial, you’ve learned how to build an app like Uber, in React Native, by leveraging the use of React Native Geolocation, adding markers and polylines, observing device location with watch position, getting the current device location, and computing the distance between geolocation with the haversine package.
You can find the entire React Native project on Github. Pull requests are welcome, so if you’d like to add more features to this tutorial so that other mobile developers can use to launch their Taxi apps faster, feel free to contribute to our Github project.
Also, if you want to kickstart your next React Native App insanely fast, check out Instamobile’s high-quality app templates. Building your own Uber clone app in React native has never been faster.
Don’t forget to share this tutorial, so that other developers building taxi apps like Uber can leverage it to make their lives easier. Happy Coding!
Next Steps
Now that you have learned about resources to learn React Native development, here are some other topics you can look into
- Firebase — Push notifications | Firebase storage
- How To in React Native — WebView | Gradient| Camera| Adding GIF| Google Maps | Redux | Debugging |
Hooks| Dark mode | Deep-link | GraphQL | AsyncStorage | Offline |Chart | Walkthrough | Geolocation | Tinder swipe | App icon | REST API - Payments — Apple Pay | Stripe
- Authentication — Google Login| Facebook login | Phone Auth |
- Best Resource – App idea | Podcast | Newsletter| App template
If you need a base to start your next React Native app, you can make your next awesome app using manyReact Native template.


2 Comments
Suman Chatterjee · July 30, 2019 at 1:48 pm
Getting error message “ld: 261 duplicate symbols for architecture x86_64”
while integrating google maps in react native for IOS
Ibrahim Sani · October 22, 2019 at 4:23 pm
hi,loved the tutorial,
Can you share a detailed step by step process on how to build an Uber clone app for the driver and passenger?