In this post, we are going to describe in details how to create an e-commerce app for iOS and Android in minutes, by leveraging our premium React Native e-commerce app, built in React Native. The shopping app template is integrated with Firebase backend, so we are also going to learn how to set up the e-commerce app to use your Firebase account.
For general tasks, such as running a React Native app in a Android emulator, we are only mentioning the main steps, and link to more comprehensive documentation, so please make sure you check out the extra resources listed at each step, in case you need to clarify something.
On a high-level, here’s how to create an e-commerce app for iOS and Android, starting with Instamobile’s premium shopping starter kit:
- Configure your development environment
- Install the npm packages
- Run the app on Android
- Run the app on iOS
- Link your own Firebase account
- Create categories & products in your Firebase
- Set up Stripe Payments
- Publish app to App Store & Google Play
Configure your development environment
To be able to run React Native apps for iOS and Android, you need to install some basic developer tools, such as React Native, Android SDK (for Android) or Xcode (iOS only). Most of our apps don’t use Expo by default, but if you end up using an Expo powered React Native template, you’ll need to install the Expo client as well.
Here are the basic dev tools that you need to get started:
- Install Node & React Native
- Install Android Studio (for Android)
- Install Xcode (for iOS)
- Install Visual Studio Code (especially if you are on Windows, its built-in terminal will make your life simple)
If you need more details on how to set up your dev environment, check out our React Native Development Environment documentation. That article also has some more powerful tools that will make developer’s life easier, as well as some advanced techniques, that help you in moving fast and maintaining a high code quality bar.
Install npm packages
Now that you have Node installed, open up a Terminal, change directory to the unarchived downloaded app, and simply run
npm install
Windows users: If you are on Windows, you should use the terminal built into Visual Studio Code, since the command line prompt on Windows is not compatible with most of the UNIX commands.
Running the app on Android
Make sure you installed the npm packages first (“npm install“). To run an app on Android, you need either an Android device (phone or tablet), or an Android emulator. If you don’t have a an Android device, Android Studio comes with a few Android emulators. Depending on where you want the app to run:
- For device, simply plug in the USB cable into your computer
- For emulator, open Android Studio -> Tools -> AVD Manager and start an Android emulator (if there’s no emulators in the list, simply add one, with the latest Android API).

Once you have a device plugged in or an emulator running, simply execute the following command in your terminal, on the project’s directory:
react-native run-android
This should build the app and start it up on the selected device. If a metro bundler is not automatically opened, you need to open it manually – simply start a new Terminal window, go to project’s directory and run “npm start“.
If you’re running into any other issues, you can debug them by using our React Native Errors documentation.
Running the app on iOS
Make sure you installed the npm packages first (“npm install“). Most of our React Native templates use advanced npm packages, such as Firebase or Facebook SDKs, which need to be linked – that’s to say the app is ejected, which means it doesn’t work with Expo nor can it simply be run by executing “react-native run-ios“.
To run apps on iOS, you need a MacOS computer. Unfortunately, for Windows users, you’ll have to either get an Apple computer, or install a virtual machine on your laptop.
To create an e-commerce app for iOS, from our premium app template, you need to install Cocoapods and Xcode first.
Open up your Terminal in the project’s directory, and switch to the ios subfolder to install the pods by executing:
cd ios && pod install
This will install all the dependencies our iOS mobile app template relies on. Your output should look like this:
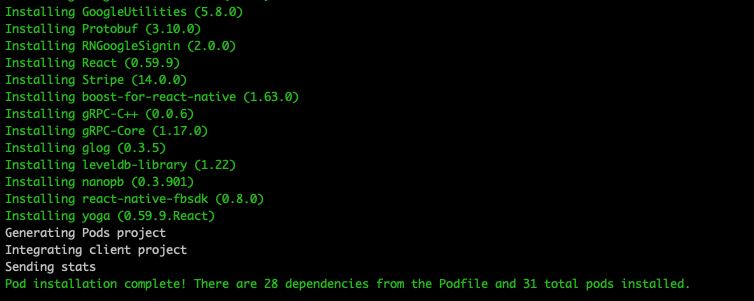
Now, under the ios folder, there’s a file named Shopertino.xcworkspace. Open it in Xcode, and then run the app, by first choosing which device or simulator you want
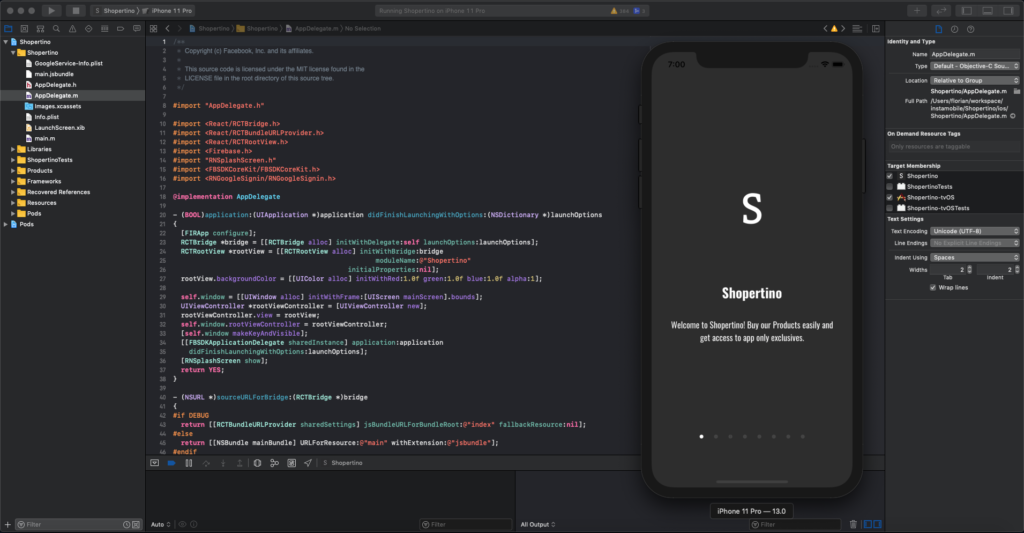
This would open up a metro bundler instance automatically. If you’re running into any other issues, you can debug them by using our React Native Errors documentation.
Link your own Firebase account
As you’ve probably already noticed, the e-commerce app displays Instamobile’s default products and categories. Making a purchase will actually send a fake purchase into our Stripe demo account. In order to make the app yours and ready for production, you need to link your own Firebase and Stripe accounts.
To link your own Firebase backend to the e-commerce app template, you need to create a Firebase account. Then create a project and an app within that project. This will give you two files, which you need to override in the downloaded app template:
- iOS: Download the GoogleService-Info.plist file from Firebase Console and override it in ios/Shopertino subfolder.
- Android: Download the google-services.json file from Firebase Console and override it in android/app subfolder.
Make sure you enable Firebase Authentication methods, as well as Firebase Storage and Firestore (with public rules for both reads and writes).
For a more detailed, step-by step guide on how to set up Firebase, check out our comprehensive Firebase Integration tutorial.
Run the app again, and notice how now it’s totally empty. Create a new user, and check out your Firebase console to see if it shows up in there.
Create categories & products in your Firebase
In order to make the app fully functional, you need to specify what products and categories you are selling. This can be done by simply adding all the data in Firestore, under Firebase console.
Add categories
Create a new collection under Firebase -> Database -> Cloud Firestore, named “shopertino_categories“. In this new collection, add your categories, by specifying their ID, name and photo. Make sure the structure looks identical with this:
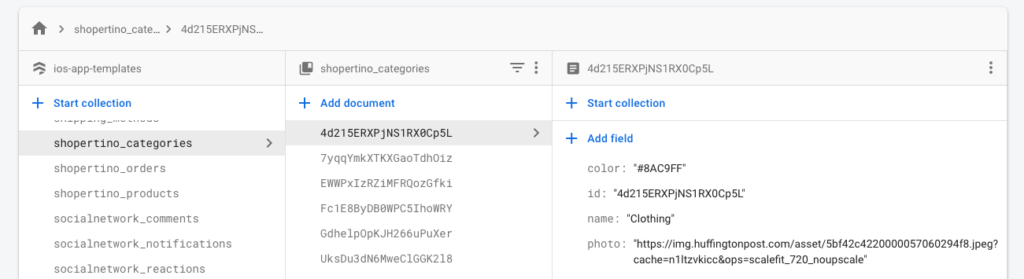
Notice how the “id” field matches the exact string from the second column? This is extremely important.
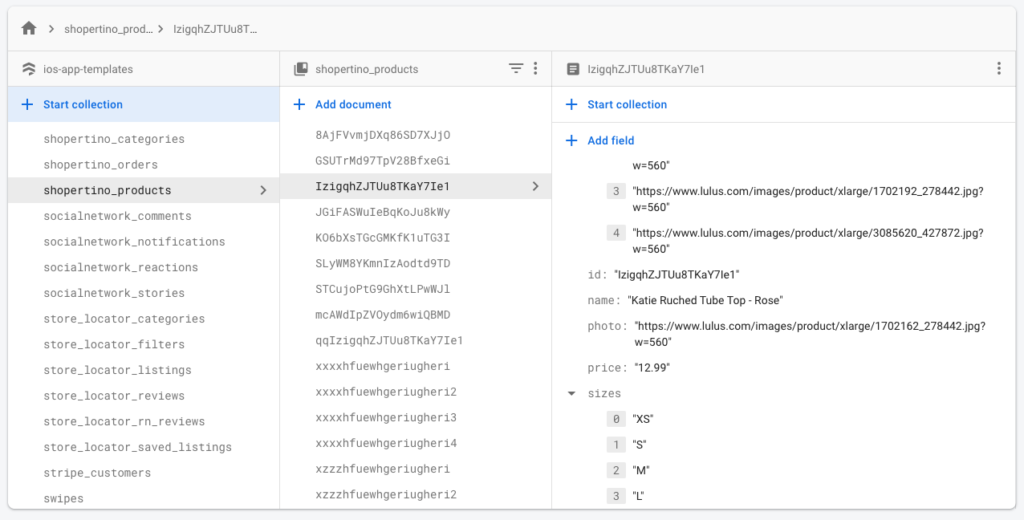
Add products
Now that all categories are added, it’s time to create the actual products that are being sold via your new mobile e-commerce app. Similarly, go to Firestore and create a new collection named “shopertino_products” and add all the product information you have. Make sure the name of the fields match the following photo precisely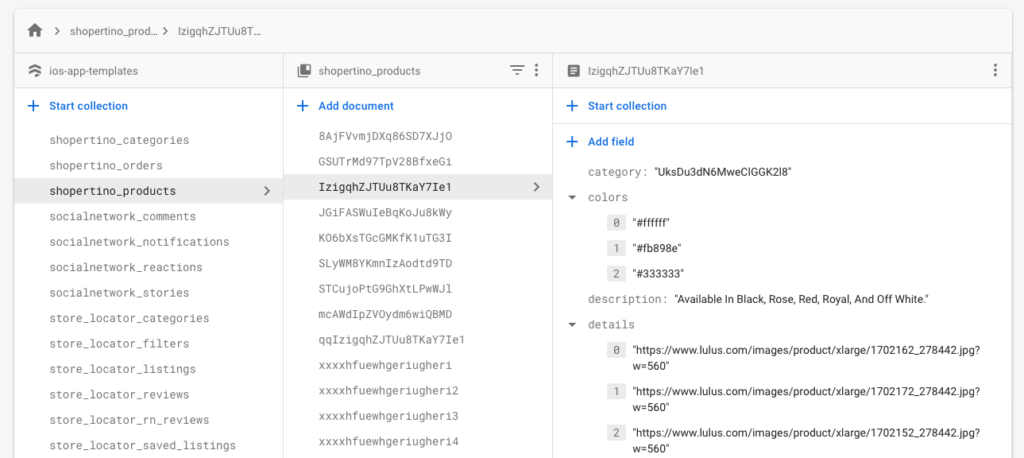 :
:
Set up Stripe Payments
To accept payments in your newly created e-commerce app, for both iOS and Android, you need a payment processor. At Instamobile, our favorite payment processor is Stripe, which is why we integrated it in all of our app templates.
Create a Stripe account. This will give you two API keys – a publishable key and a secret key.
- Open “src/constant.js” and update it with your Stripe publishable key.
- Open “stripeServer/.env” and update it with your Stripe secret key
To actually accept payments, you also need a server to process credit card & payment information from your customers securely. Follow our comprehensive step-by-step documentation on how to integrate Stripe in React Native apps.